

What is a webhook?
A webhook is a way for one system (like Fillout) to send real-time data to another system (like the 3rd party tools you use) as soon as an event occurs. Under the hood, a webhook is an HTTP callback and can be either of these requests:- GET - fetch something
- POST - create something new
Connect your form to a webhook
1
Link your Fillout form to a webhook
Click Integrate at the top of your form, then click Webhook.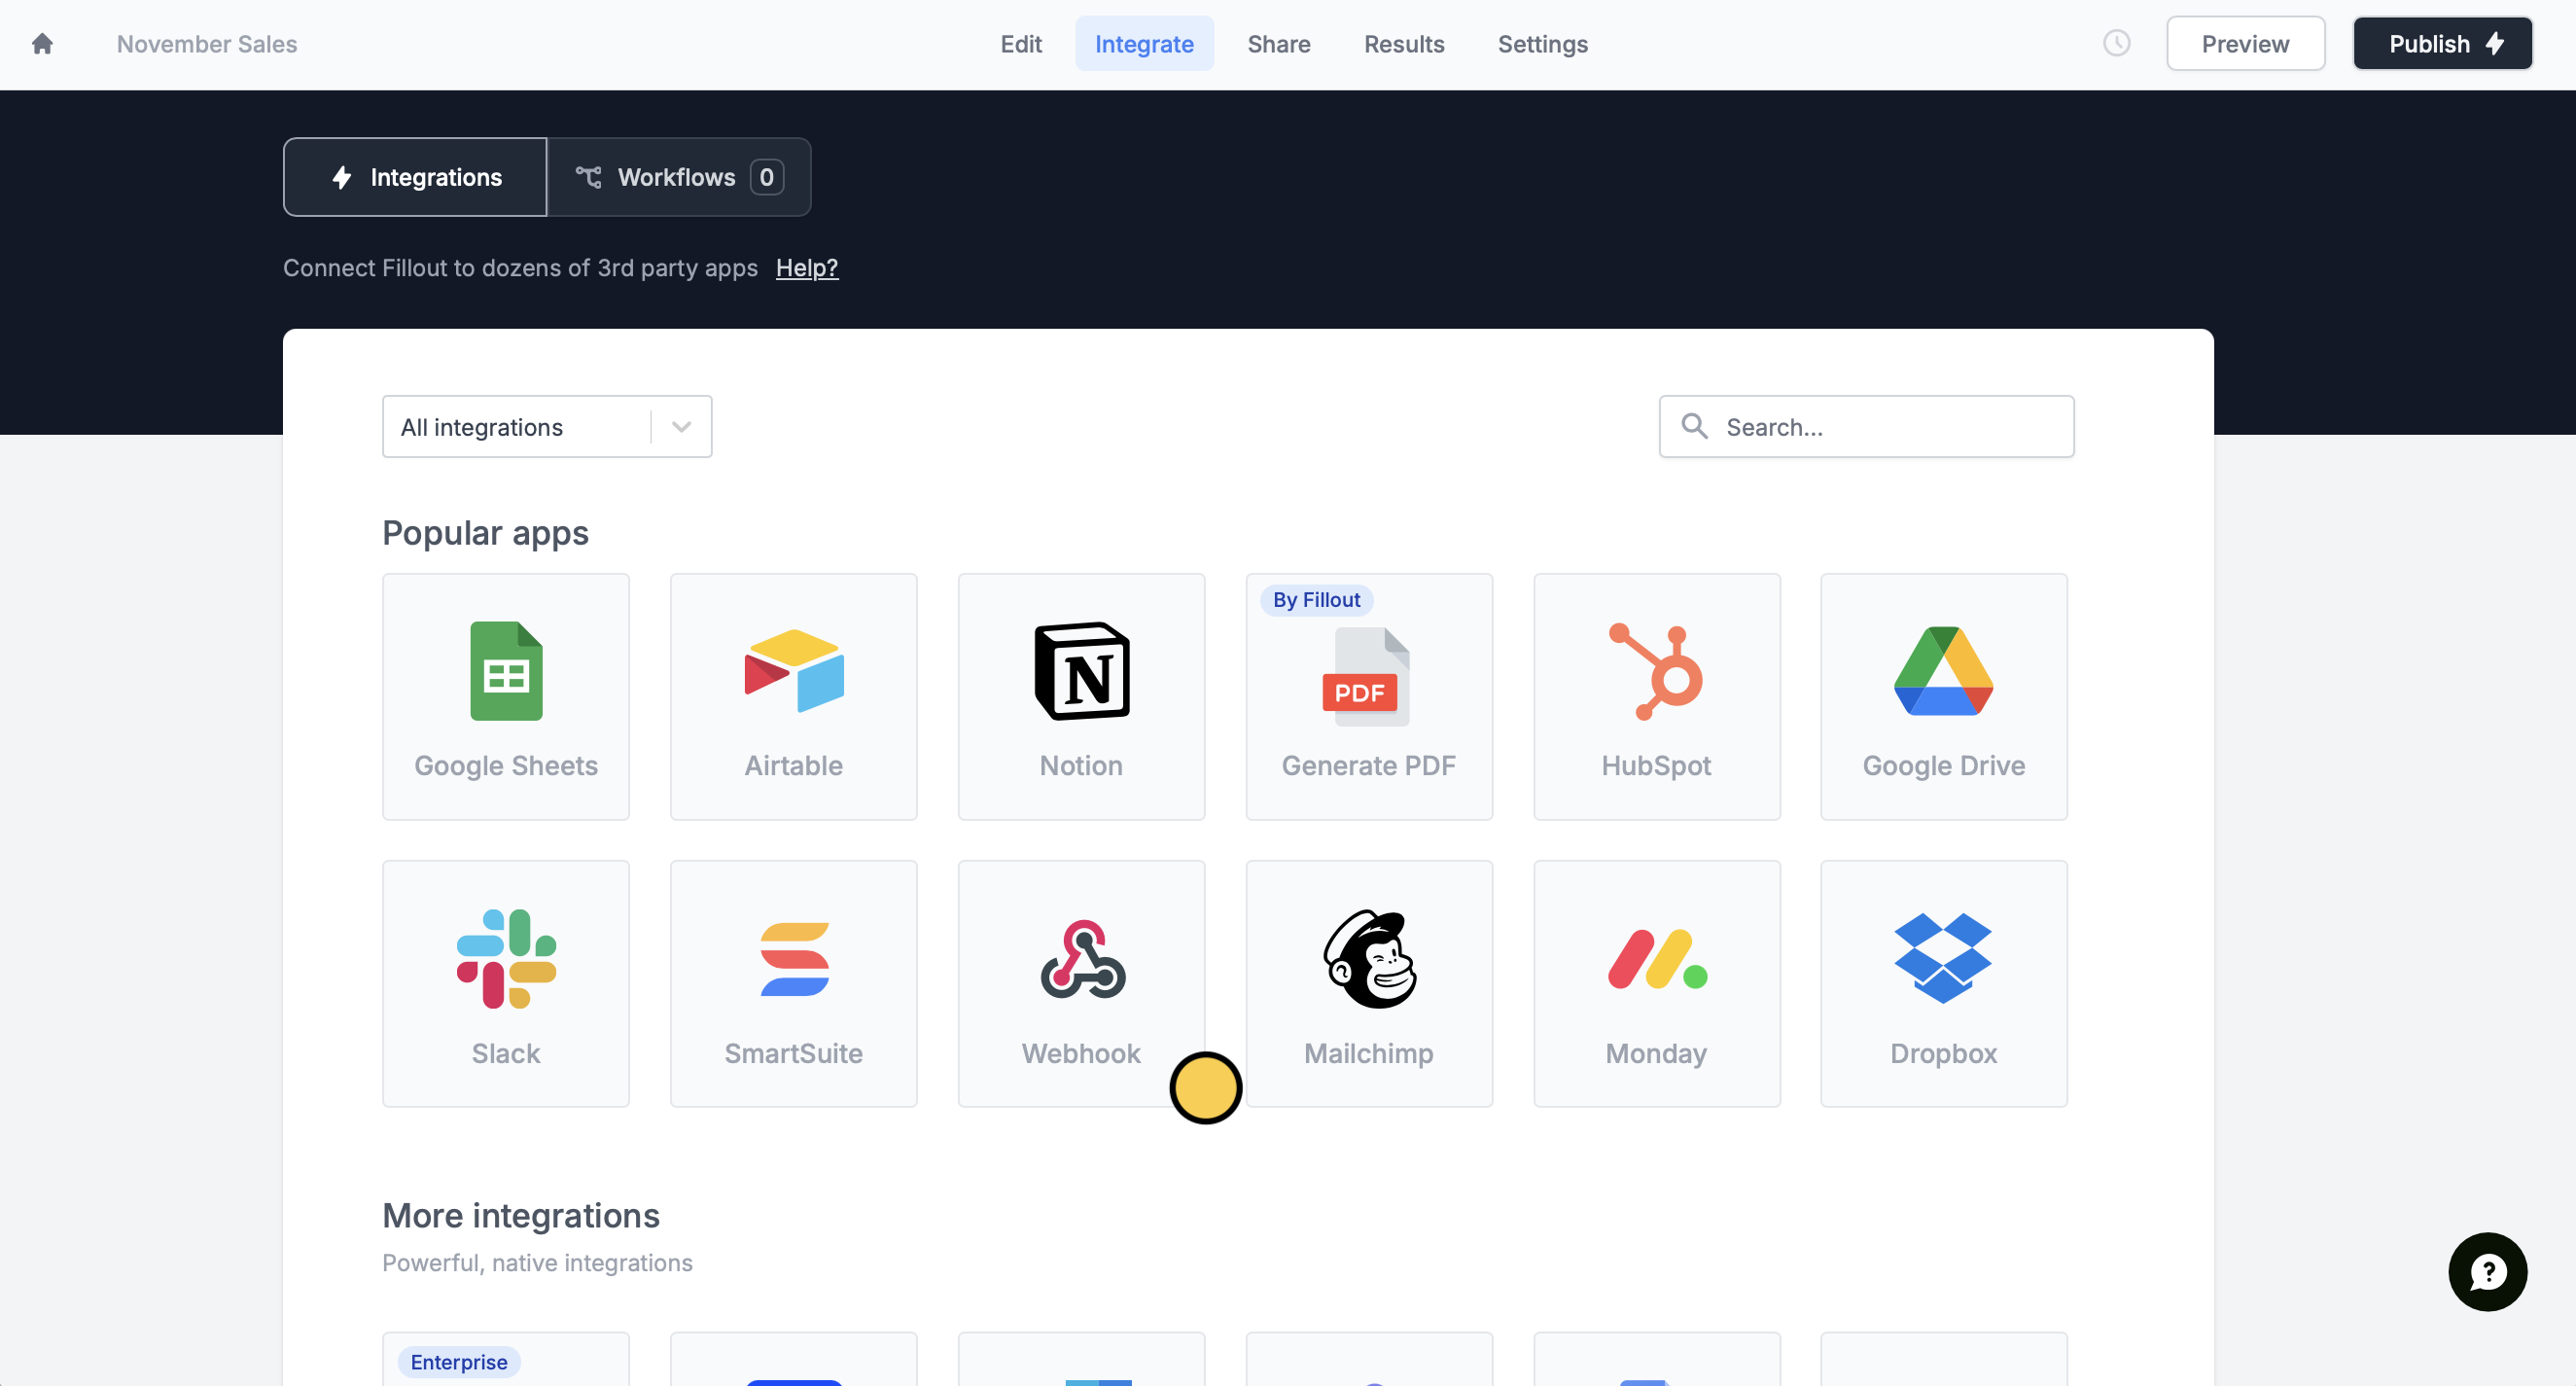
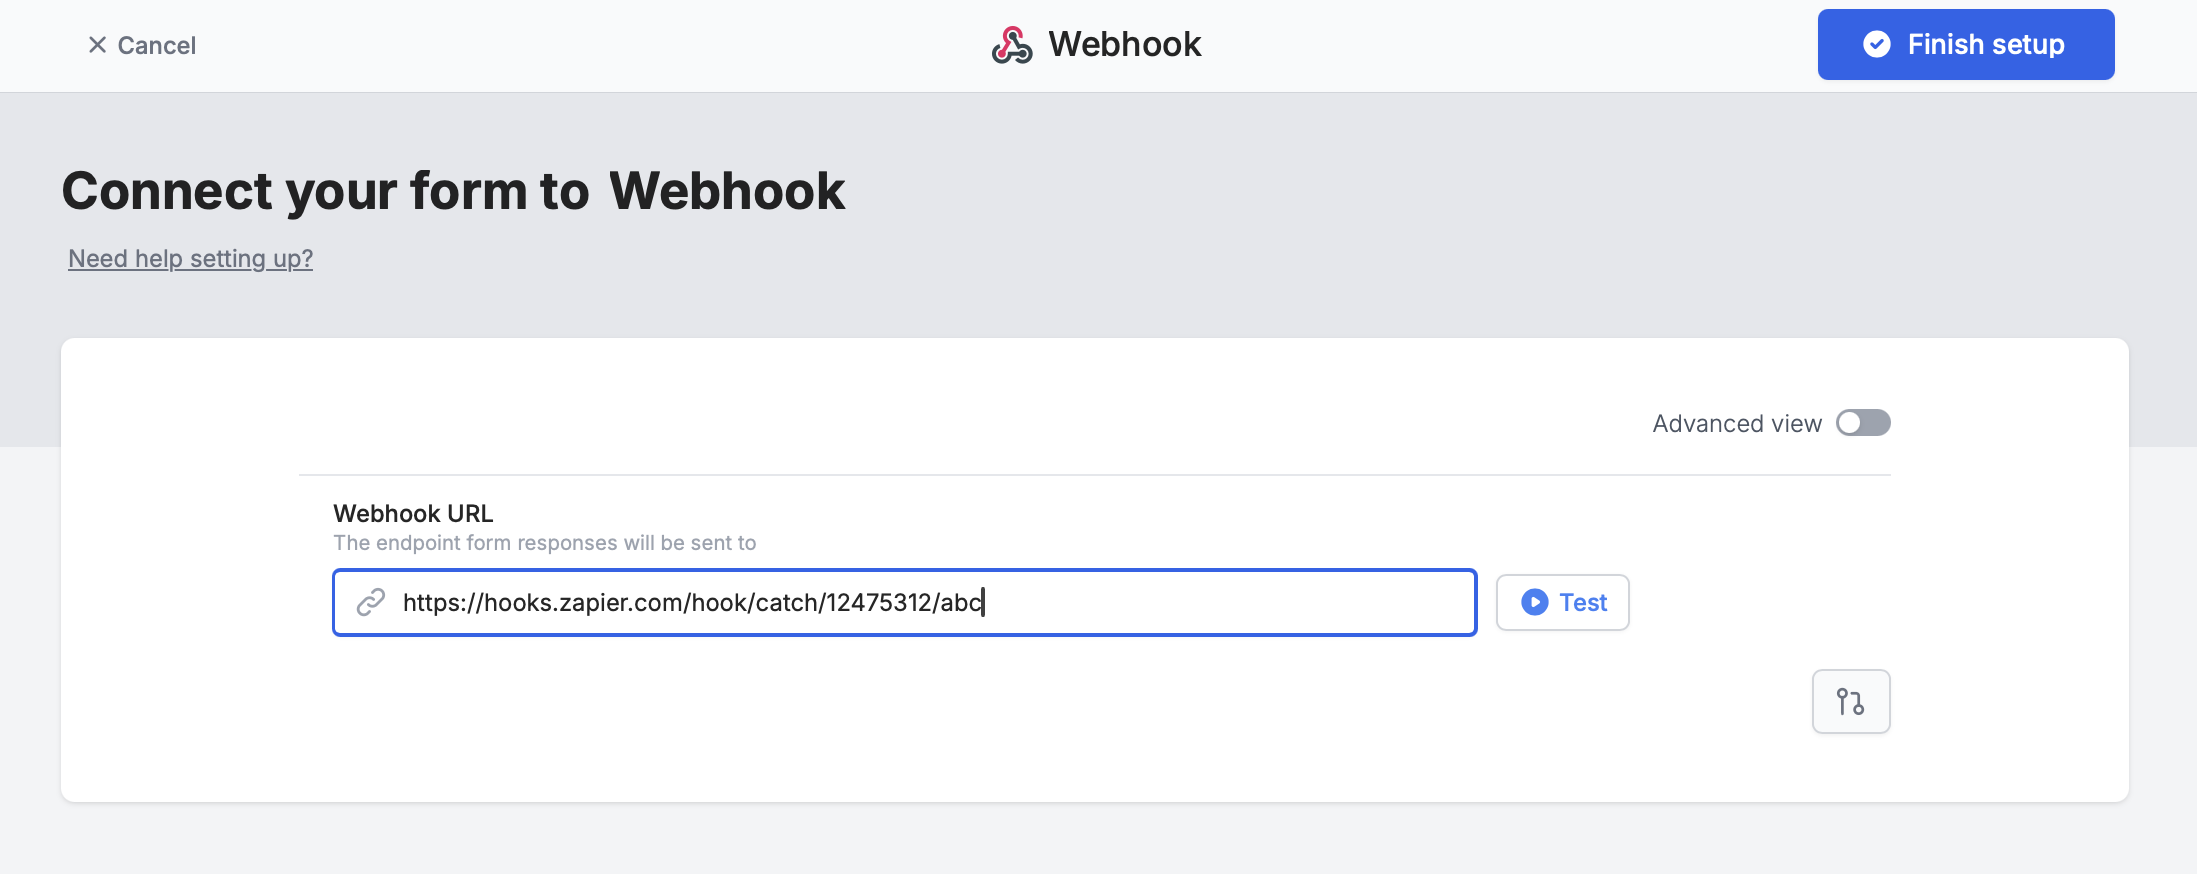
2
Publish and share
You have all you need to configure a webhook when the form submits. Publish it and share the link.
What’s included in the payload
By default, Fillout sends the full submission to your webhook URL as JSON, in a POST request. A few things aren’t included:- Browser, operating system and network ID. These show on your form’s Results page but aren’t sent to the webhook.
- The edit submission link. To get it, request the submission from the Fillout REST API with the
includeEditLinkquery parameter.
Available webhook options
Switch from Simple to Advanced at the top to set up your webhook with any of the parameters or arguments you need.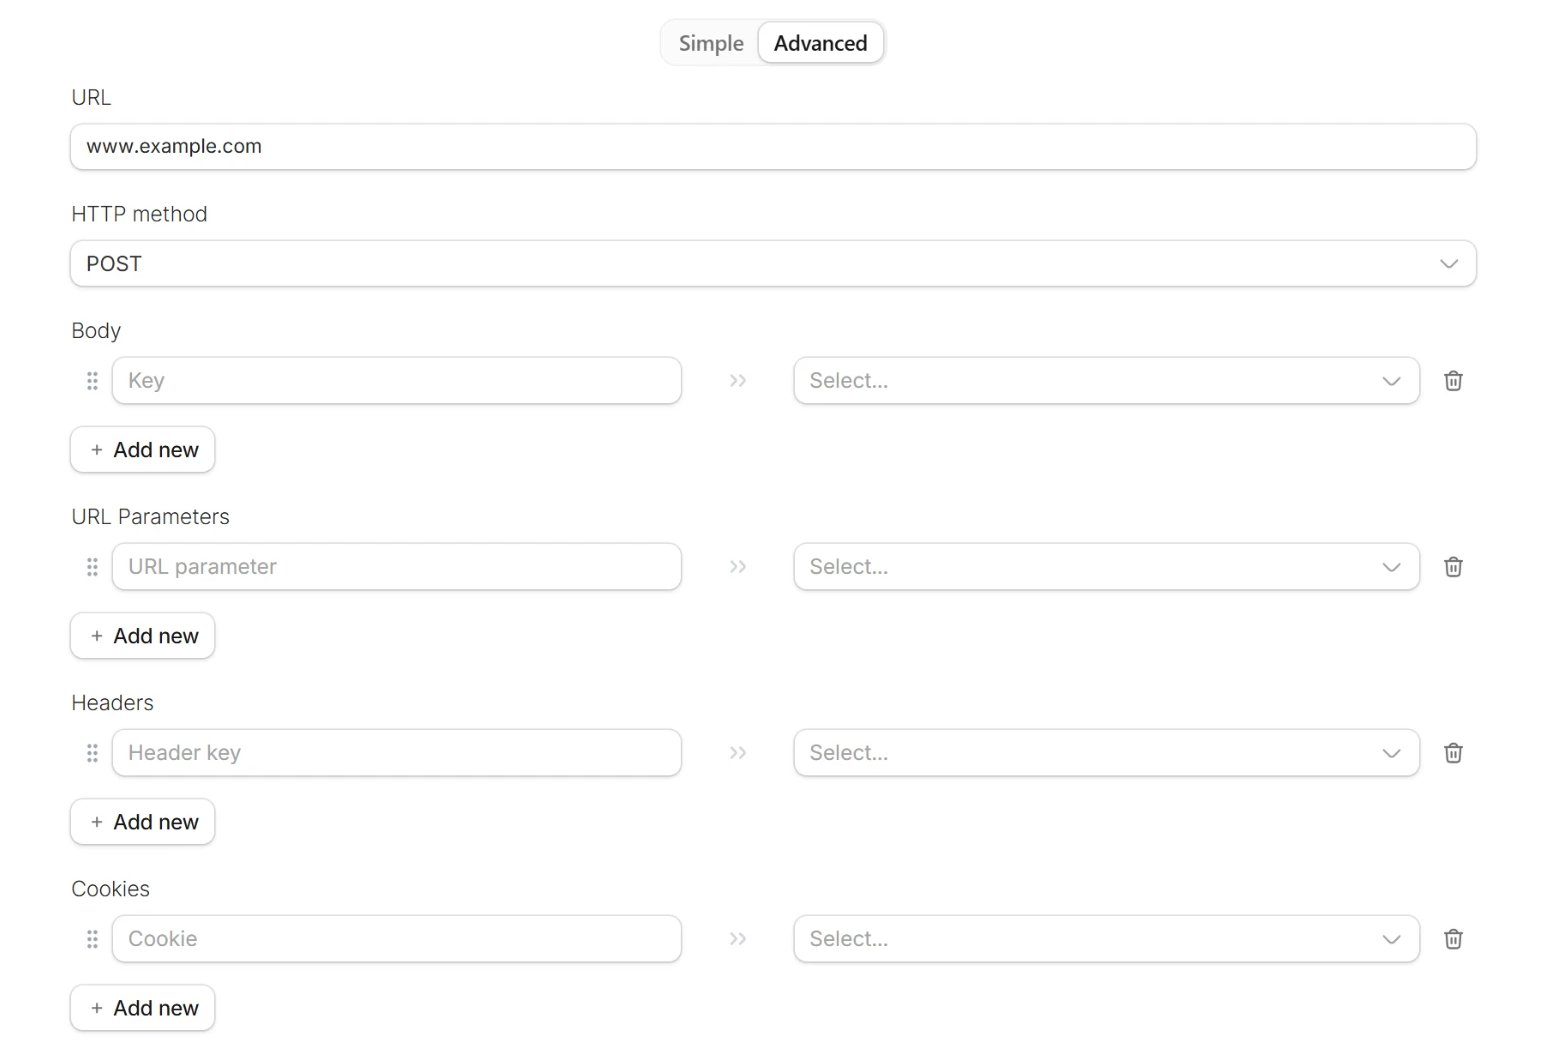
- Choose whether Fillout sends a POST or a GET request to your URL.
- Body only shows when the HTTP method is POST. Most of the time, services like Zapier and Make accept either GET or POST, so you can send information in the body of the message if you prefer.
- If using fields in the body of the message, make sure to process these correctly in Zapier/Make to make sure that they’re coming in the body and not the URL.
- These get added to the URL at the end.
- The left-hand side is the key, and the right-hand side is the value from your form or from anything else you can reference in Fillout.
- For example, if you add, on the left-hand side, source, and then on the right-hand side, reference the field or question about this in your form, then your webhook will send:
- https://hooks.zapier.com/hooks/catch/12475312/abc/?source=answer to the short answer
- So if someone answered Facebook in the form, you will send: https://hooks.zapier.com/hooks/catch/12475312/abc/?source=facebook
- Most users will not need to use this section. This is typically if you have an advanced webhook setup which requires sending extra headers.
- The most typical use case for headers is if your endpoint needs verification and you have a special key to send. For example, enter Authorization as the key and Bearer followed by your secret token as the value.
- Fillout sends Content-Type and Accept headers set to application/json unless you add your own.
- Similar to headers, most users will not need to send any here.
Common webhook errors
These errors show next to the submission on your form’s Results page. The same errors can come up in a webhook step in a workflow.- Invalid webhook URL - Fillout can’t send to this address. Check that:
- The URL starts with https://. Newer forms don’t accept http:// URLs.
- The address is on the public internet. Fillout doesn’t send to private or local network addresses, like localhost or an internal IP address, even if they worked before.
- The domain exists and is spelled correctly.
- The destination server attempted to redirect the request to another location - Fillout doesn’t follow redirects. Use the final URL your service gives you instead.
- The destination server took too long to respond to the webhook request - your server didn’t accept the connection within about 10 seconds, or didn’t respond within 60 seconds. Check that it’s online, then retry.
Retry a failed webhook
When a webhook fails, your form’s Results page shows an error next to that submission. Open the submission to read the error message. Once you’ve fixed the issue on your end, click Retry integration under the error to send the submission again. If you don’t see that button, resubmit the response instead. Resubmitting runs everything connected to the form again, not just the webhook: all current integrations, all workflows, and any self-notifications and respondent notifications. This also works for past submissions, including ones created before you set up the webhook.Webhooks on scheduling forms
A webhook on a scheduling form sends these fields by default:fullNameemailphone(if available)timezoneeventStartTimeeventEndTimeeventIdeventUrlrescheduleOrCancelUrlscheduledUserEmailscheduledUserName
A webhook added under Integrate only runs when the form is submitted, which is the original booking. To send a webhook when an event is canceled or rescheduled, use a workflow.
FAQs
Can I send a record ID created by another integration to my webhook?
Can I send a record ID created by another integration to my webhook?
No. If your form also creates a record through a native integration, such as a new Airtable record, that record’s ID can’t be passed to your webhook. Both run when the form is submitted, so the ID doesn’t exist yet when the webhook is sent.The same applies in general: a record ID created on submission can’t be returned to the form or used by other integrations that run on submission.
Does the webhook fire for unpaid submissions on payment forms?
Does the webhook fire for unpaid submissions on payment forms?
No. A form with a payment page can’t be submitted until Stripe confirms the payment, so abandoned or declined payments don’t trigger the webhook. Some submissions still come through without a completed charge, like $0 checkouts, free trials, and US bank account payments that are still processing. See when a submission is recorded for the exceptions and how to check the payment status.
Why don't webhooks created with the API show in my dashboard?
Why don't webhooks created with the API show in my dashboard?
Webhooks created through the Fillout API don’t appear in the Fillout dashboard. To remove one, use the API’s remove a webhook endpoint.
Related articles
Automate with Zapier
Connect your Fillout form to hundreds of apps.
Populate dropdowns with a webhook
Load options from a REST API.