

How it works
You can fetch information from a database or service and add it to your form. This is possible even if your form is connected to one table but needs to fetch data from another table. This can be done using pre-fetch, which lets you:- Pull in related record data
- Display external table values
- Use fetched data in logic or personalization
Pre-fetching data is available on the Fillout Business plan, and on Team and Enterprise. Zite Free, Pro and Business plans don’t include it for forms. See Fillout pricing. However, you can still make update forms that pre-fetch information on the Free plan, with this approach.
How to pull external information into your form
Fillout lets you get data from Airtable, Notion, SmartSuite and webhooks to use in your form.Using Zite Database? See Pre-fetch records for use in your form for the steps.
1
Select your integration
Navigate to the
Integrate page from the top menu and choose Airtable, Notion or SmartSuite. To fetch data from any other service, use a webhook instead.2
Add a pre-fetch record
Then, click 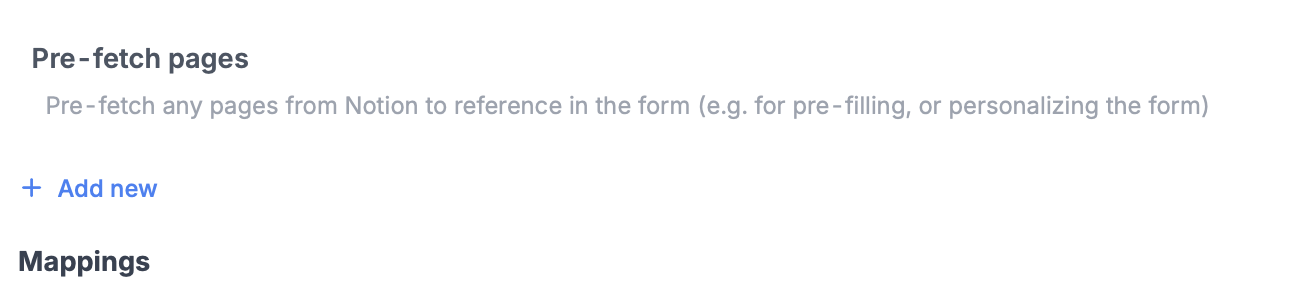
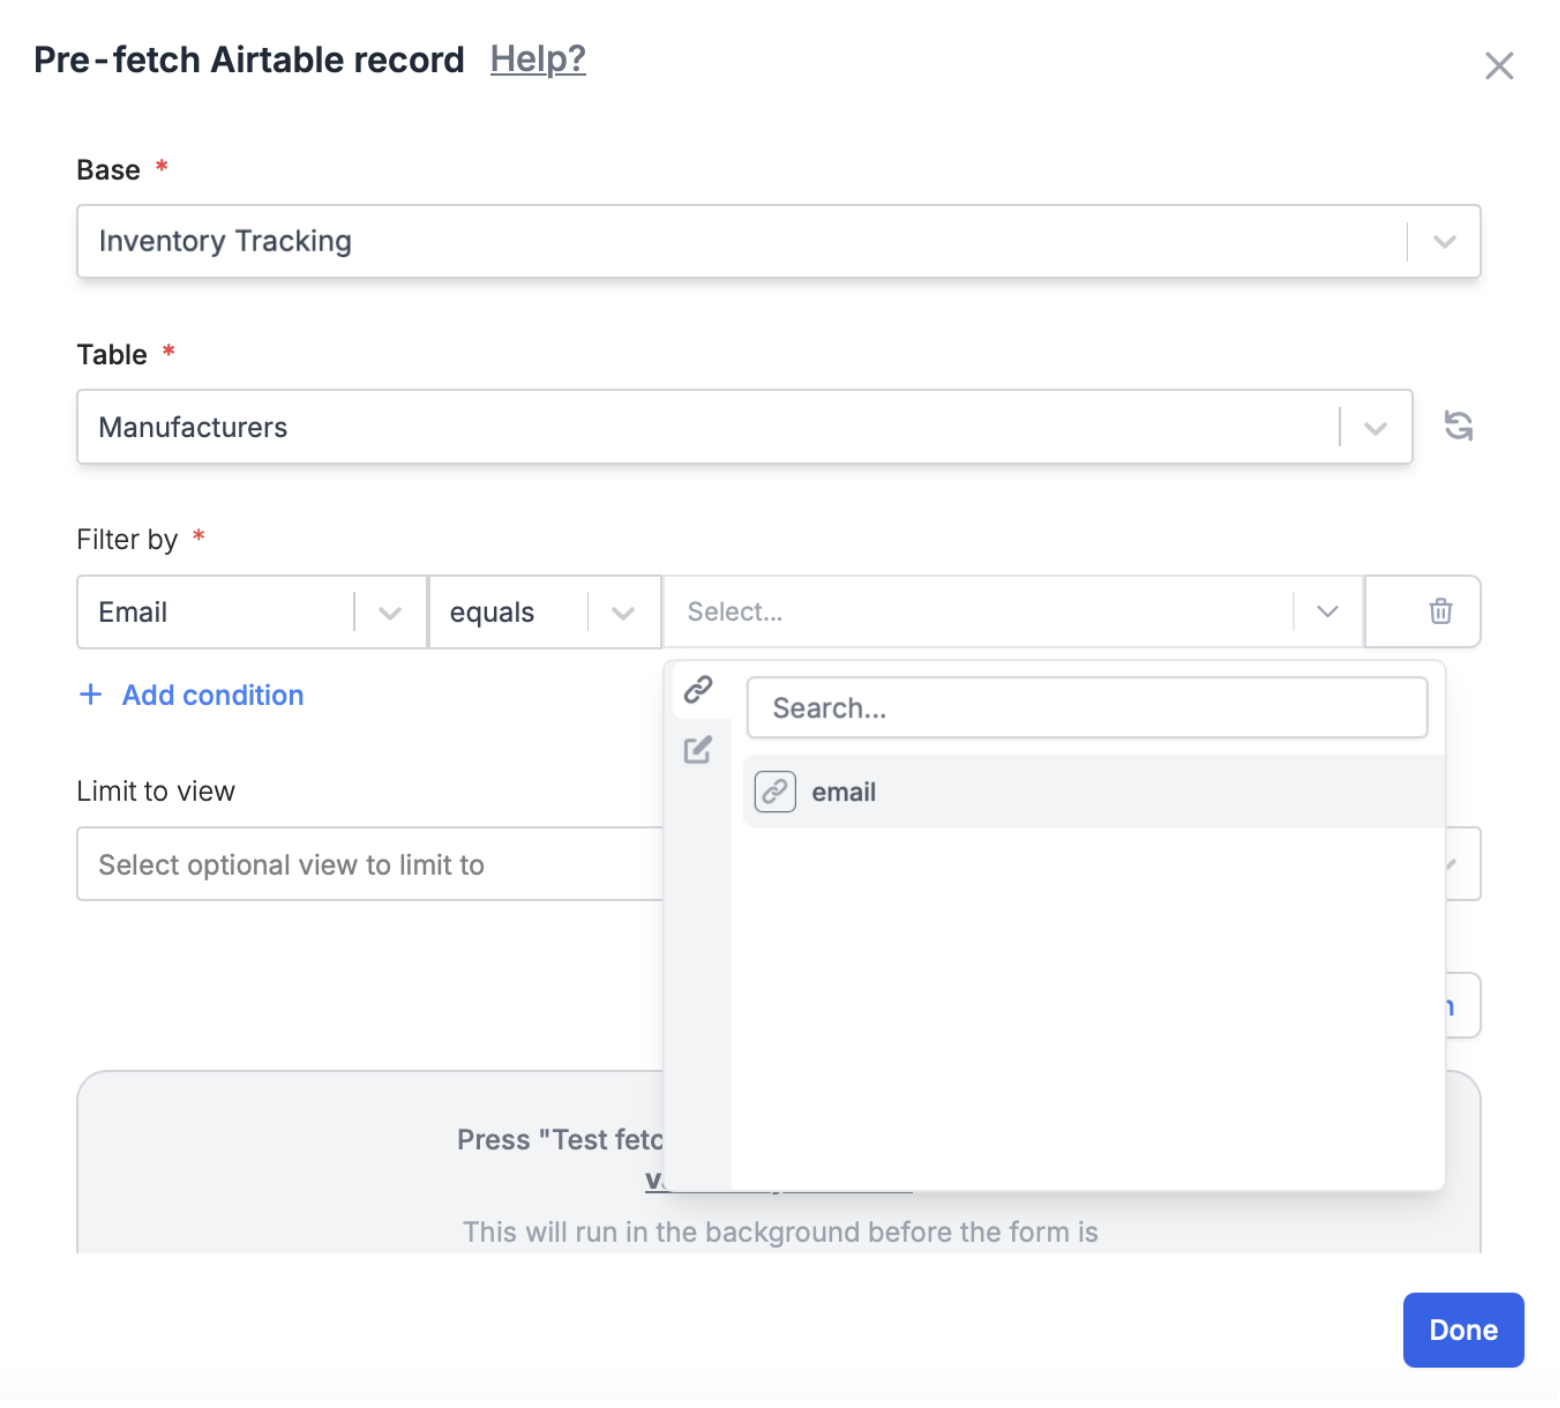
+ Add new under Pre-fetch pages.Pre-fetch data with a webhook
To fetch data from a service other than Airtable, Notion or SmartSuite, use a webhook. Fillout calls your endpoint every time the form loads.1
Add a Webhook integration
Click
Integrate on top followed by Webhook. If you only want to pre-fetch data, you can leave the Webhook URL empty.2
Add a pre-fetch
Switch from 
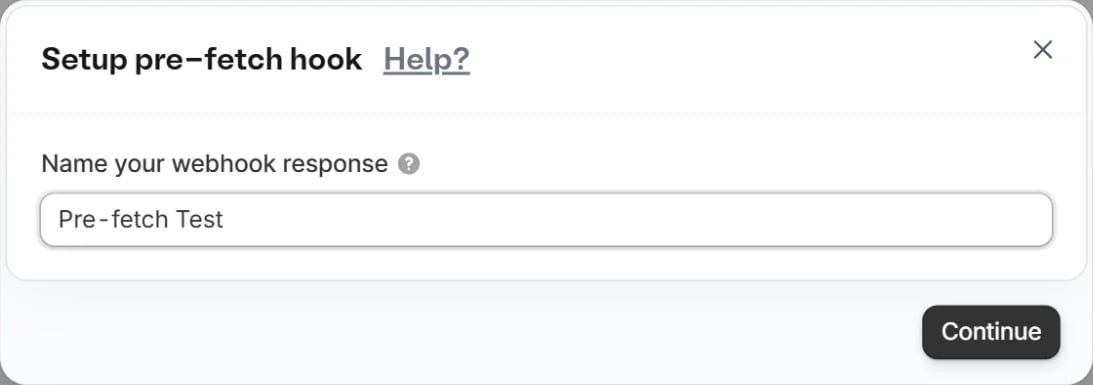
Simple to Advanced at the top, then scroll down to Pre-fetch and click + Add new.Continue.3
Set up the request
Enter the URL of the endpoint to fetch from and choose the HTTP method. If your endpoint needs them, add a Body, URL Parameters, Headers or Cookies.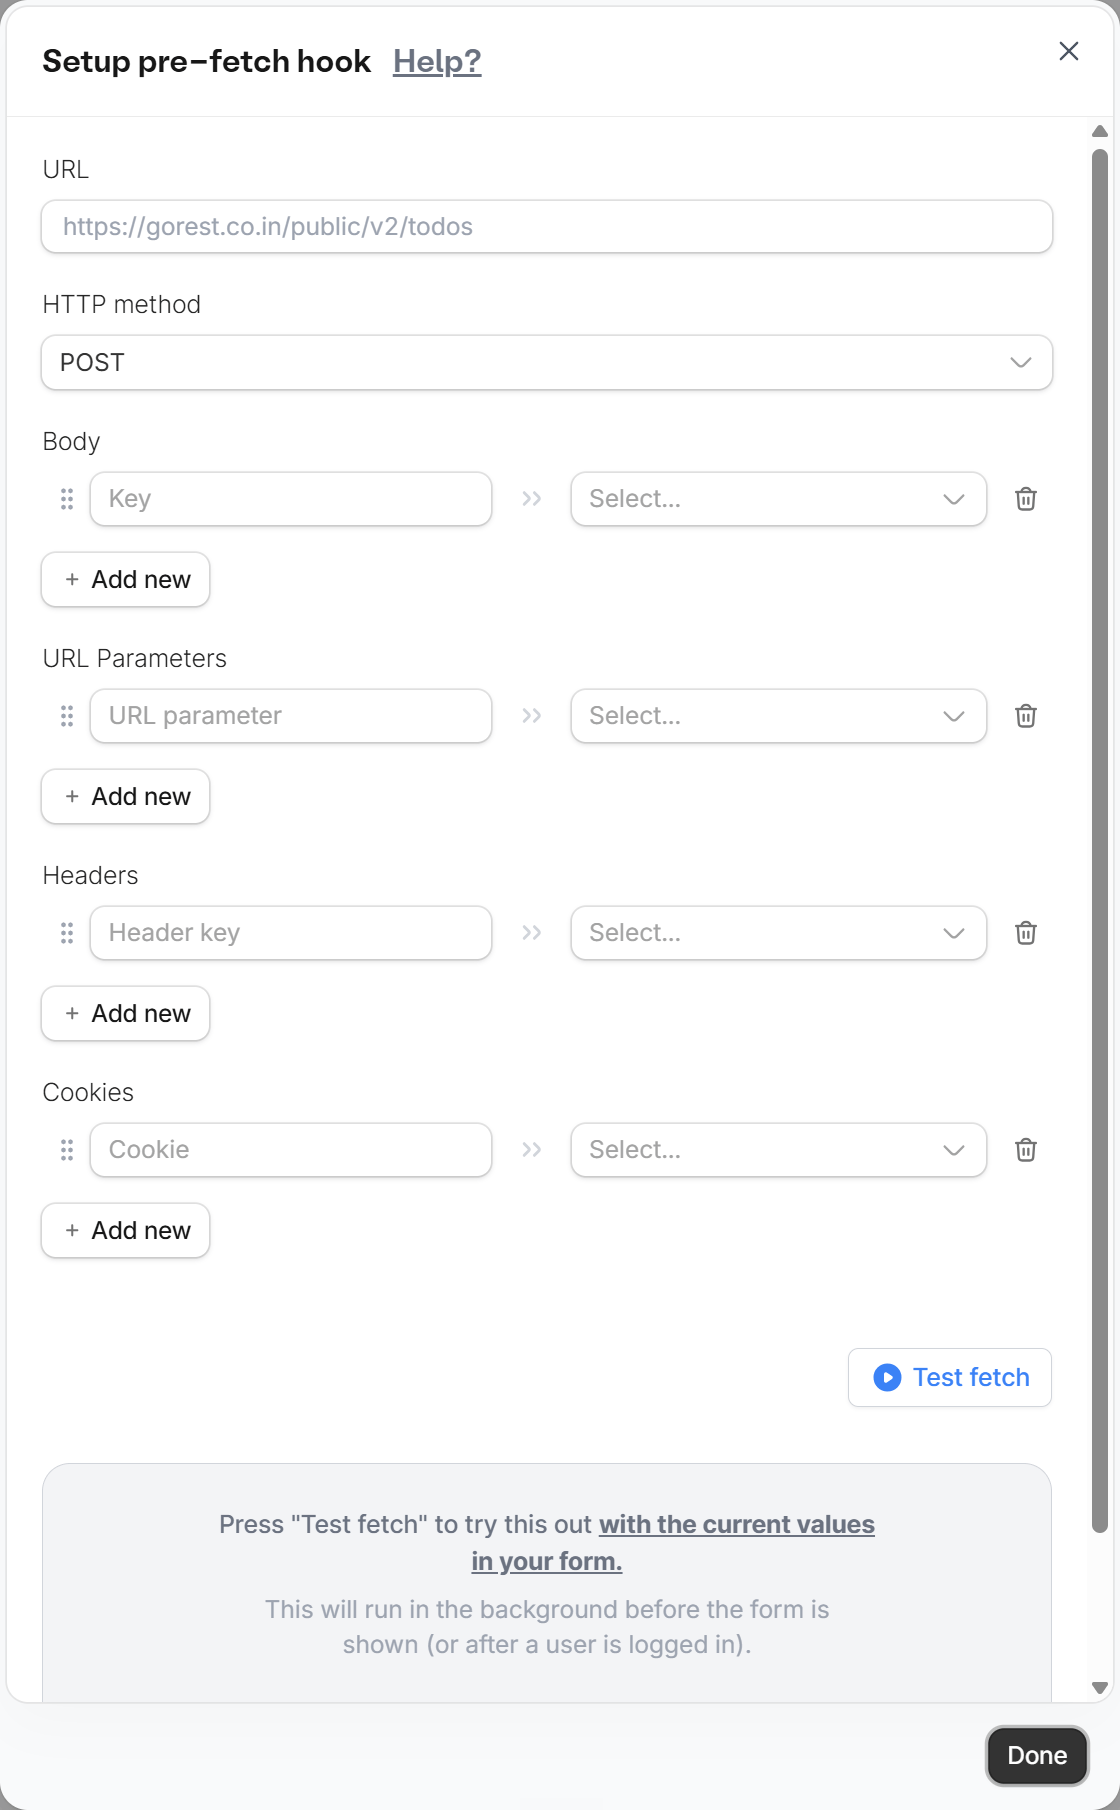
4
Test the fetch
Click
Test fetch to pull a sample from your endpoint. This is how the form learns the structure of the response, so you can reference the fetched values. Then click Done.5
Use the fetched values
Reference the fetched values in your form’s fields, for example as a default value. Fetched values can’t be used to load the options of a dynamic dropdown.
When pre-fetch runs
Pre-fetch only runs when the form loads, so the form needs to know what to fetch before it opens.- Fetching based on a respondent’s answers. Use two forms. The first form collects the input and redirects to the second form, which fetches from your endpoint.
- Integration logic. Conditional integration logic doesn’t apply to a webhook pre-fetch. Since it runs on form load, conditions in the form can’t restrict it.
Use pre-fetched records in your form
Check out this article to see how you can display pre-fetched records, use the data to show or hide questions, branch to different pages, and more.You can fetch records from the same database you’re working in, or a separate one in your account.
Related articles
URL Parameters
Pass information to a form to support pre-filling.
Answer piping
Insert previous answers into upcoming questions or fields.
Use dynamic data
Display content to hide, validate and pre-fill fields.