

How it works
With Fillout Scheduling, you can connect your Google or Outlook calendar and create workflows that send reminders before a meeting. Choose how soon you want to send the reminder and whether you’d like to notify yourself, other meeting hosts, or invitees via email or a Slack channel.Currently, Calendly and Cal.com aren’t supported for scheduling workflows.
How to send event reminders
In the Fillout Workflows page, select your preferred template.
Types of scheduling actions
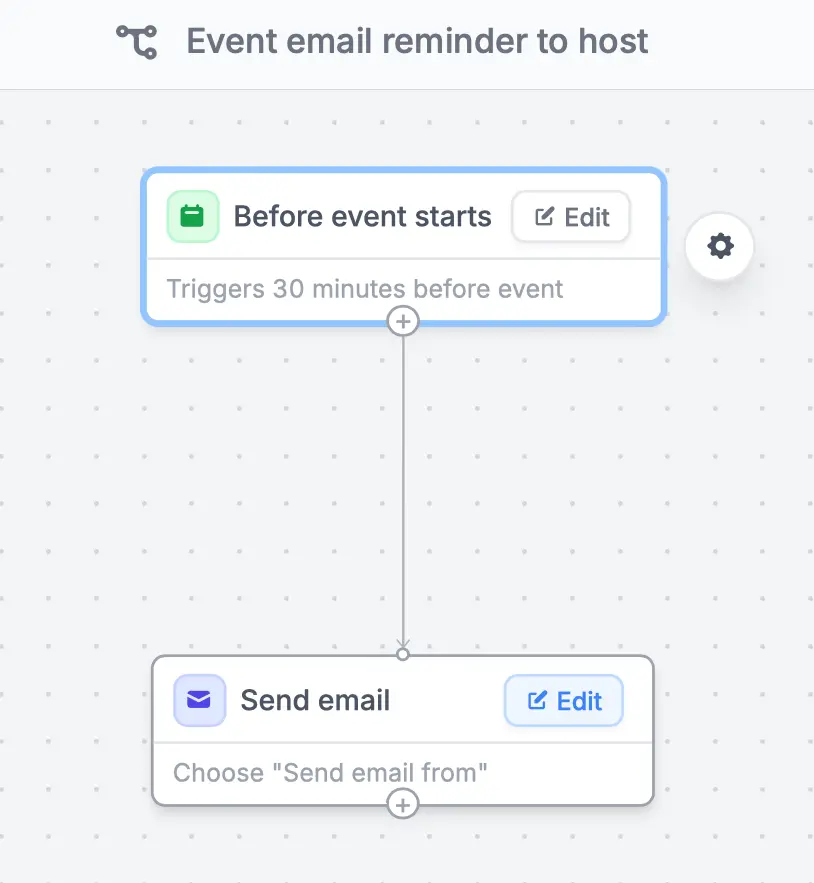
The three actions below are Fillout’s pre-made scheduling workflows. The scheduling-specific triggers you can use are Event canceled, Event rescheduled, and Before event starts.Event email reminder to host
Send reminders to yourself before a meeting takes place. By default, reminders are sent 30 minutes before a calendar event. To change this,Edit how soon you prefer to send it Before event starts.
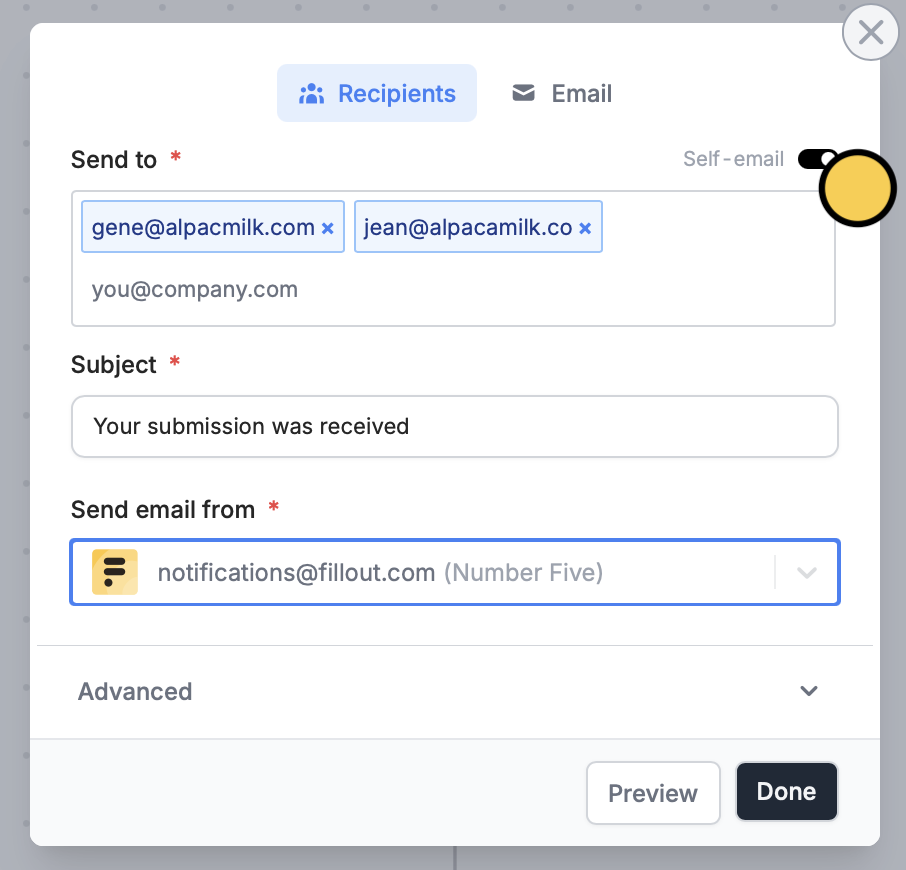
Edit your email and toggle Self-email.
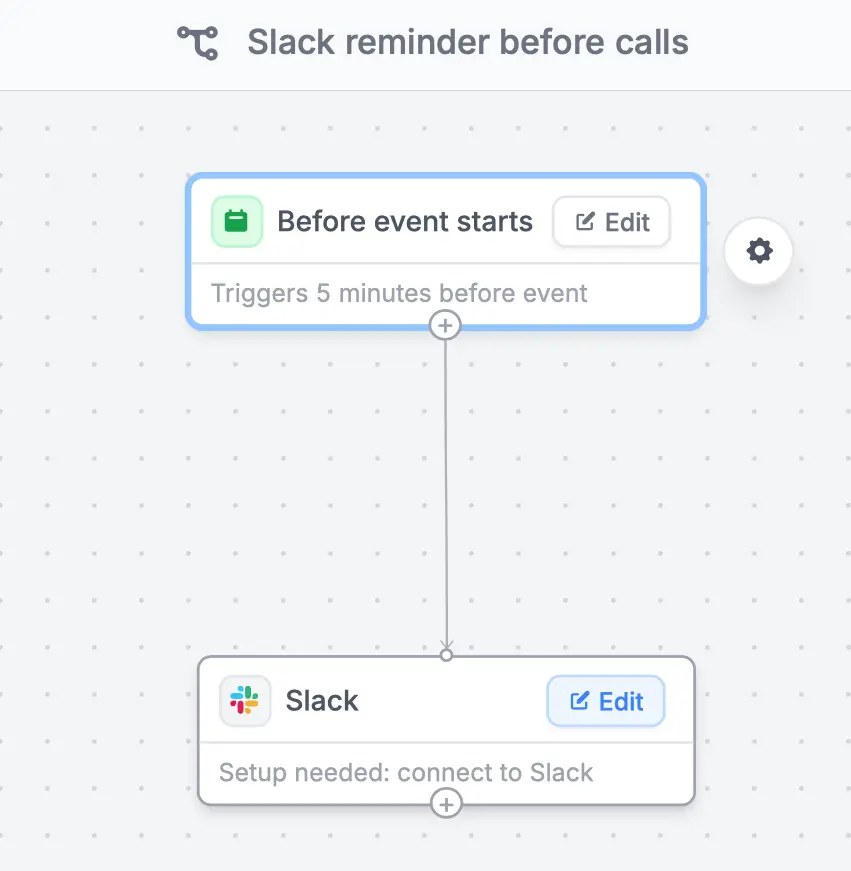
Slack reminder before calls
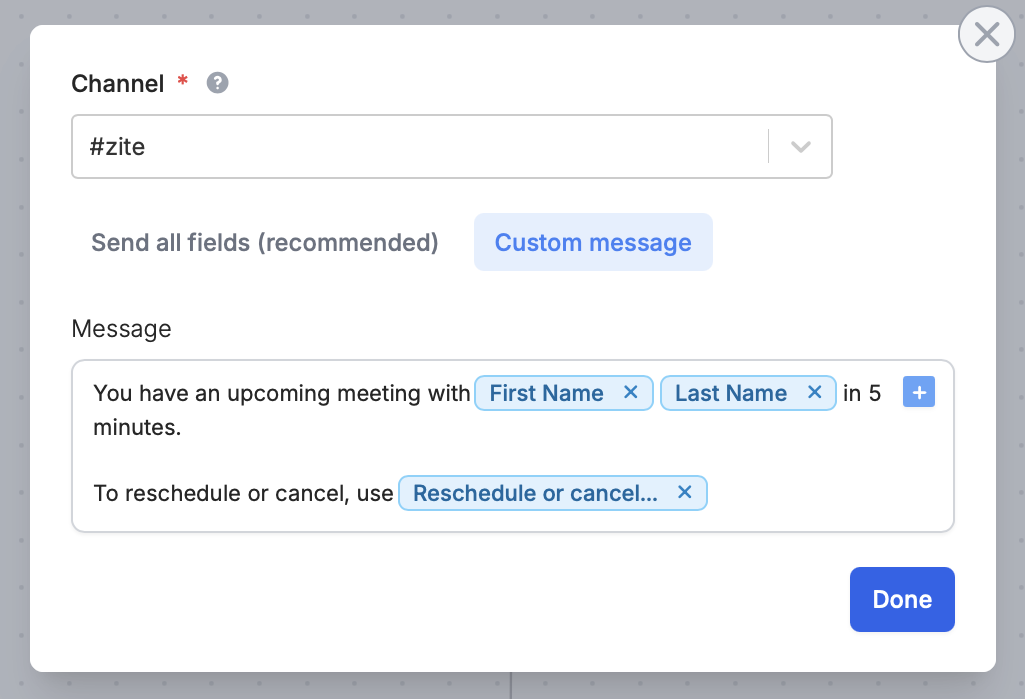
Send a Slack reminder 5 minutes before an event occurs.Edit this default time to how soon you would like to send it Before event starts.
Event email reminder to invitees
Remind invitees to attend calls before they occur via email. By default, this is sent 30 minutes before a call. ClickEdit to change this to how soon you would like to send it Before event starts.
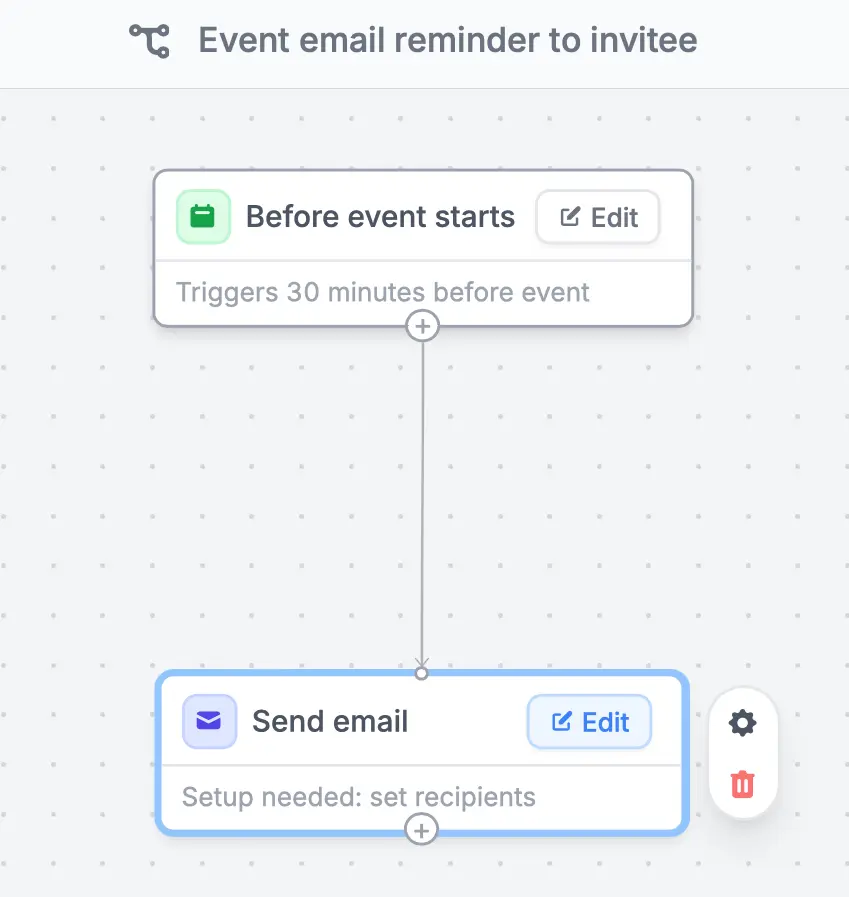
Edit in Send email.
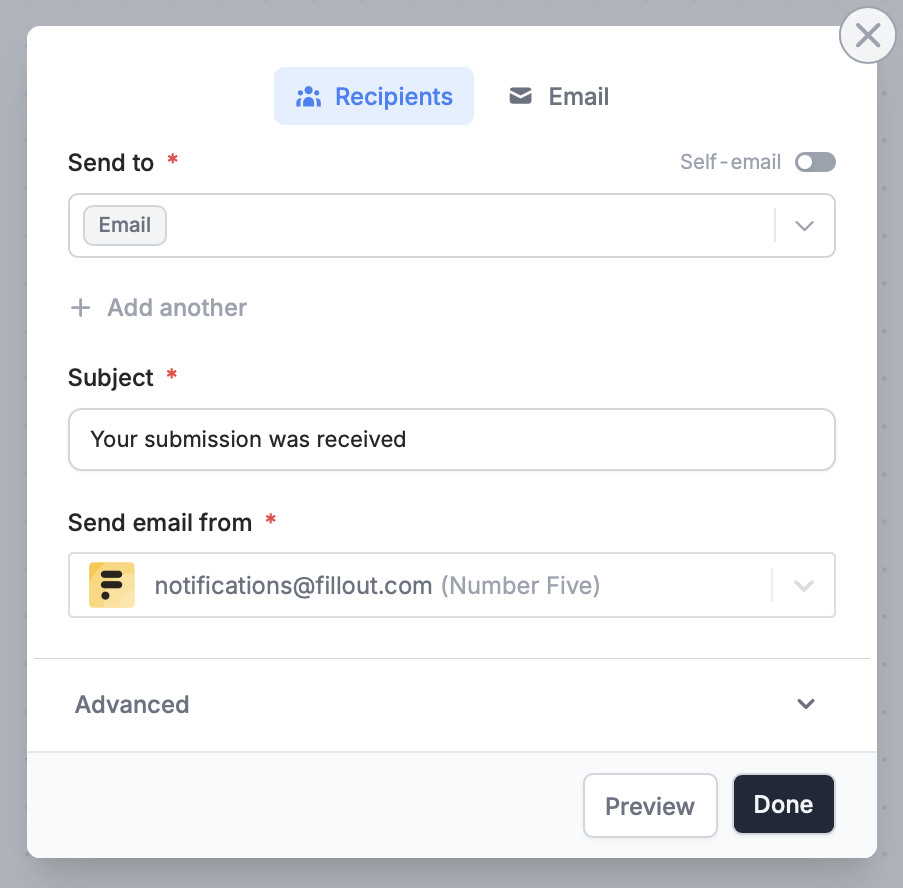
Test your workflow first through the upper right corner, and Publish it to enable the changes.
Booking details you can use in workflows
When you type @ in a workflow step, or open a field picker like Send to, the Schedule group lists the details of each booking:- Full name and Email of the person who booked
- Phone, filled in when your scheduling page asks for a phone number
- Guest emails, filled in when invitees can add guests
- Event start time and Event end time
- Event URL
- The meeting link: Google Meet link, Zoom meeting link or Microsoft Teams meeting link, depending on the meeting location
- Reschedule or cancel URL
- Host name and Host email. On round robin forms they’re called Selected host name and Selected host email: the host Fillout picked for that booking.
- Canceled At and Cancellation Reason, filled in only when the meeting is canceled. Use them with the Event canceled trigger.
Send a webhook when an event is canceled or rescheduled
A webhook added underIntegrate only runs when the form is submitted, which is the original booking. To notify your endpoint about cancellations and reschedules, create a workflow for each.
1
Create a blank workflow
Open your scheduling form and go to
Integrate followed by Workflows. Click + Blank workflow.2
Choose the trigger
Select Event canceled.
3
Add the webhook action
Click the 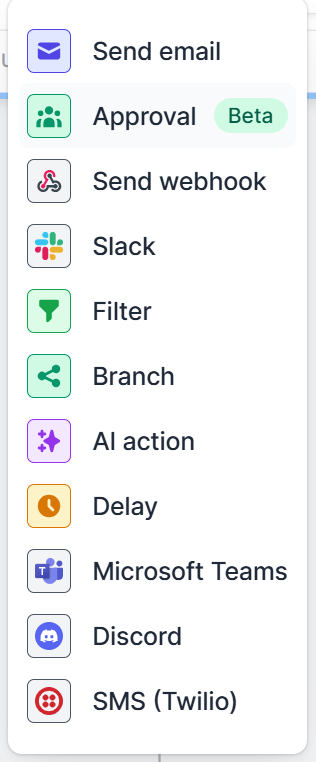
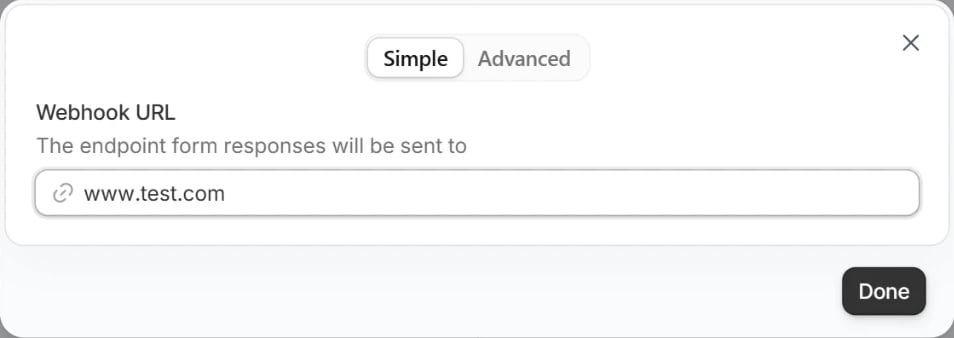
plus icon below the trigger and choose Send webhook.Done. To choose what gets sent, switch from Simple to Advanced first.4
Publish
Test the workflow, then Publish it.Related articles
Fillout Workflows
Simplify tasks with native multi-step automations.
Custom emails
Automate sending, pipe previous answers, and style your email.
Filter and Branch
Trigger different actions based on specific conditions.