Overview
3rd party applications built in Fillout can be used to allow you or your users to access their Fillout responses. To connect Fillout to your app, you’ll first start by creating an OAuth application in Fillout, which can later be submitted for approval to be listed publicly for Fillout users.Creating an OAuth app
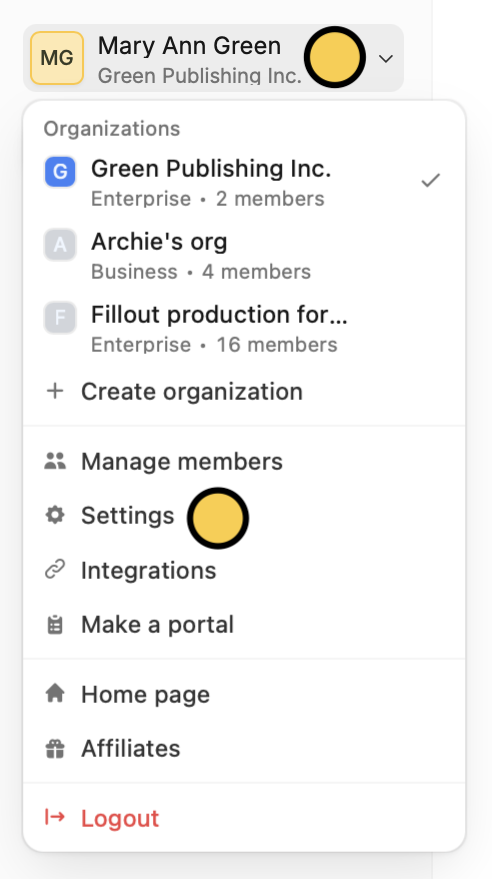
Open settings
On the upper left corner of your Fillout dashboard, click your 
Account name followed by Settings.
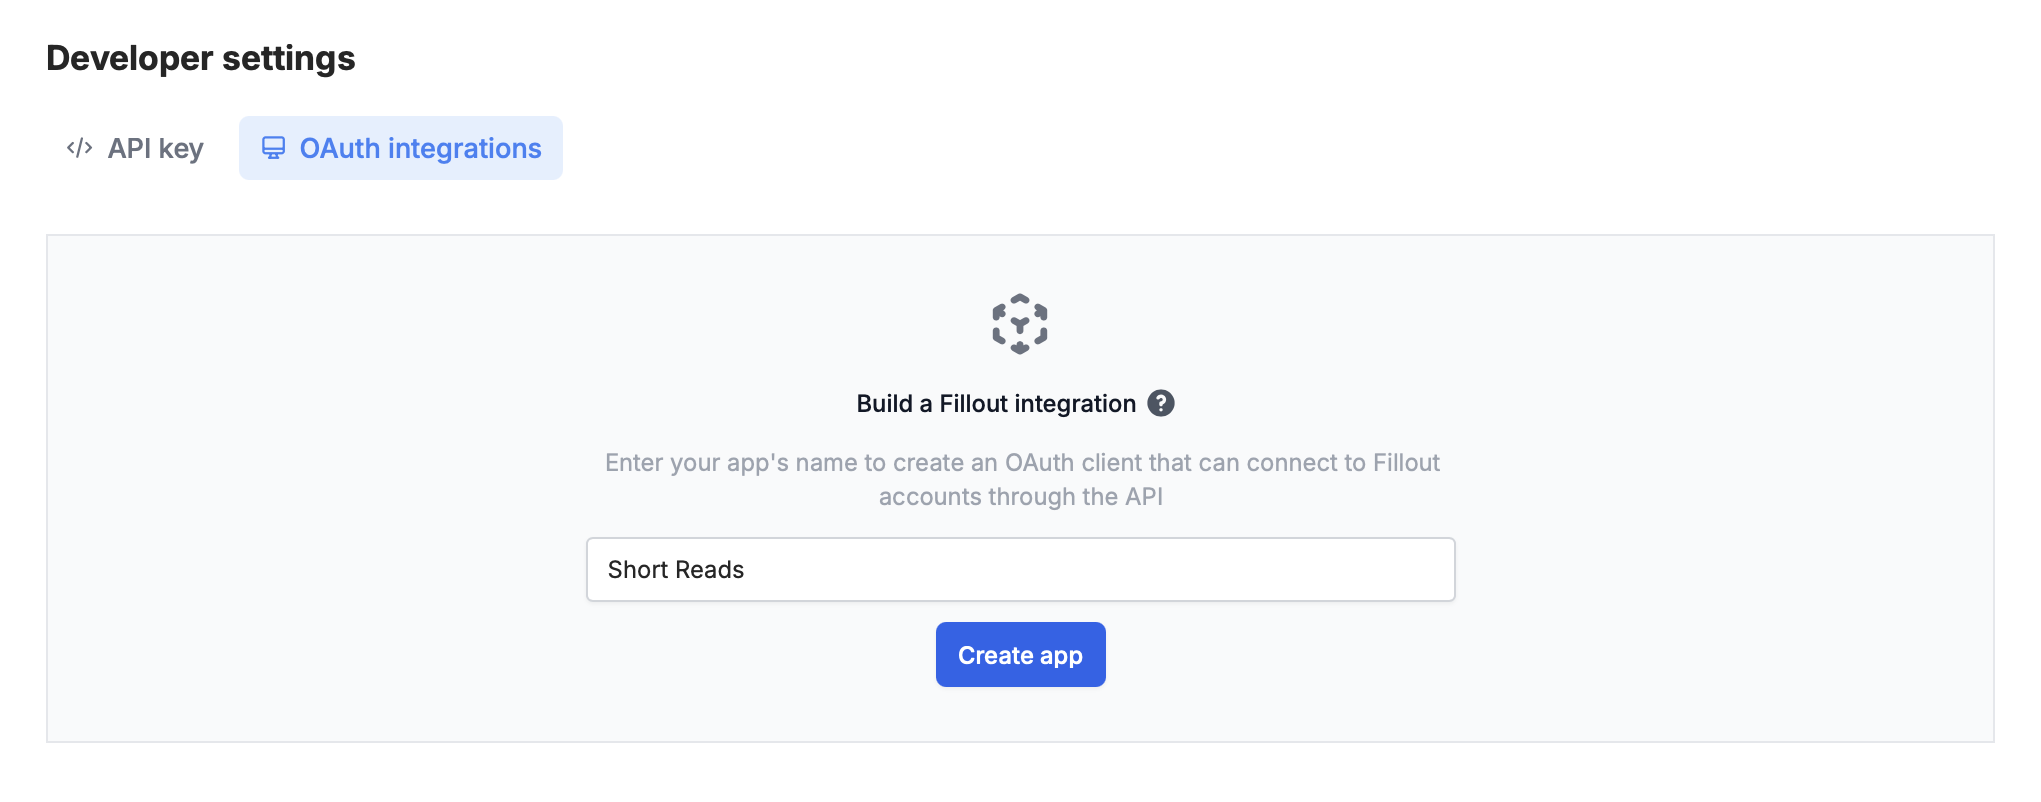
Configure your app
You’ll want to upload an App icon (users will see this when they first connect), and also set up some basic properties:
- Redirect URIs - endpoints you’d like to get sent to during the OAuth token exchange process to receive the token (more info below)
- Client ID - the public ID of your application
- Client secret - must be generated to get started.

OAuth process
Authorization request
GET https://build.fillout.com/authorize/oauth
To initiate the OAuth process, you’ll start by sending users to the above endpoint, with the following query parameters:
client_id: the client ID of your app, which you can find while configuring it (see above)redirect_uri: the URL you expect to be redirected to, once access is granted for the tokenstate:any string you’d like to use to retain state when redirecting back to your app
code: a unique oauth authorization code you can use to exchange for an access tokenstate: the state parameter you passed in initially
Token creation request
POST https://server.fillout.com/public/oauth/accessToken
Call this endpoint once you’ve successfully been redirected to after the authorization request. Pass, in the body of the request:
code: the code you received in the previous stepclient_id: your client id for your appclient_secret: the client secret you generated for your appredirect_uri: the redirect uri you originally received to generate this code.
access_token will grant access to the Fillout API
The base_url is the base URL for the api. Usually, this will be https://api.fillout.com, but may vary if you are in different geo-locations, or are self-hosting.
Invalidate access token
DELETE https://server.fillout.com/public/oauth/invalidate
To authenticate this request, pass the following headers:


