

What is round robin scheduling?
Round robin scheduling allocates appointments among hosts based on availability and priorities, ensuring each host gets equal opportunities and preventing any single host from being overloaded.Tutorial video
Check out Gareth’s tutorial on Fillout’s round robin scheduling feature.How to set up
1
Create the scheduling form
Click Scheduling under Fillout in the left sidebar of your dashboard, then + New scheduling form. Follow the steps here.Select
Round robin and choose which hosts to add.2
Configure event details
On the left-hand panel, edit the details as you see fit. You can also customize avatars to maintain brand consistency by clicking 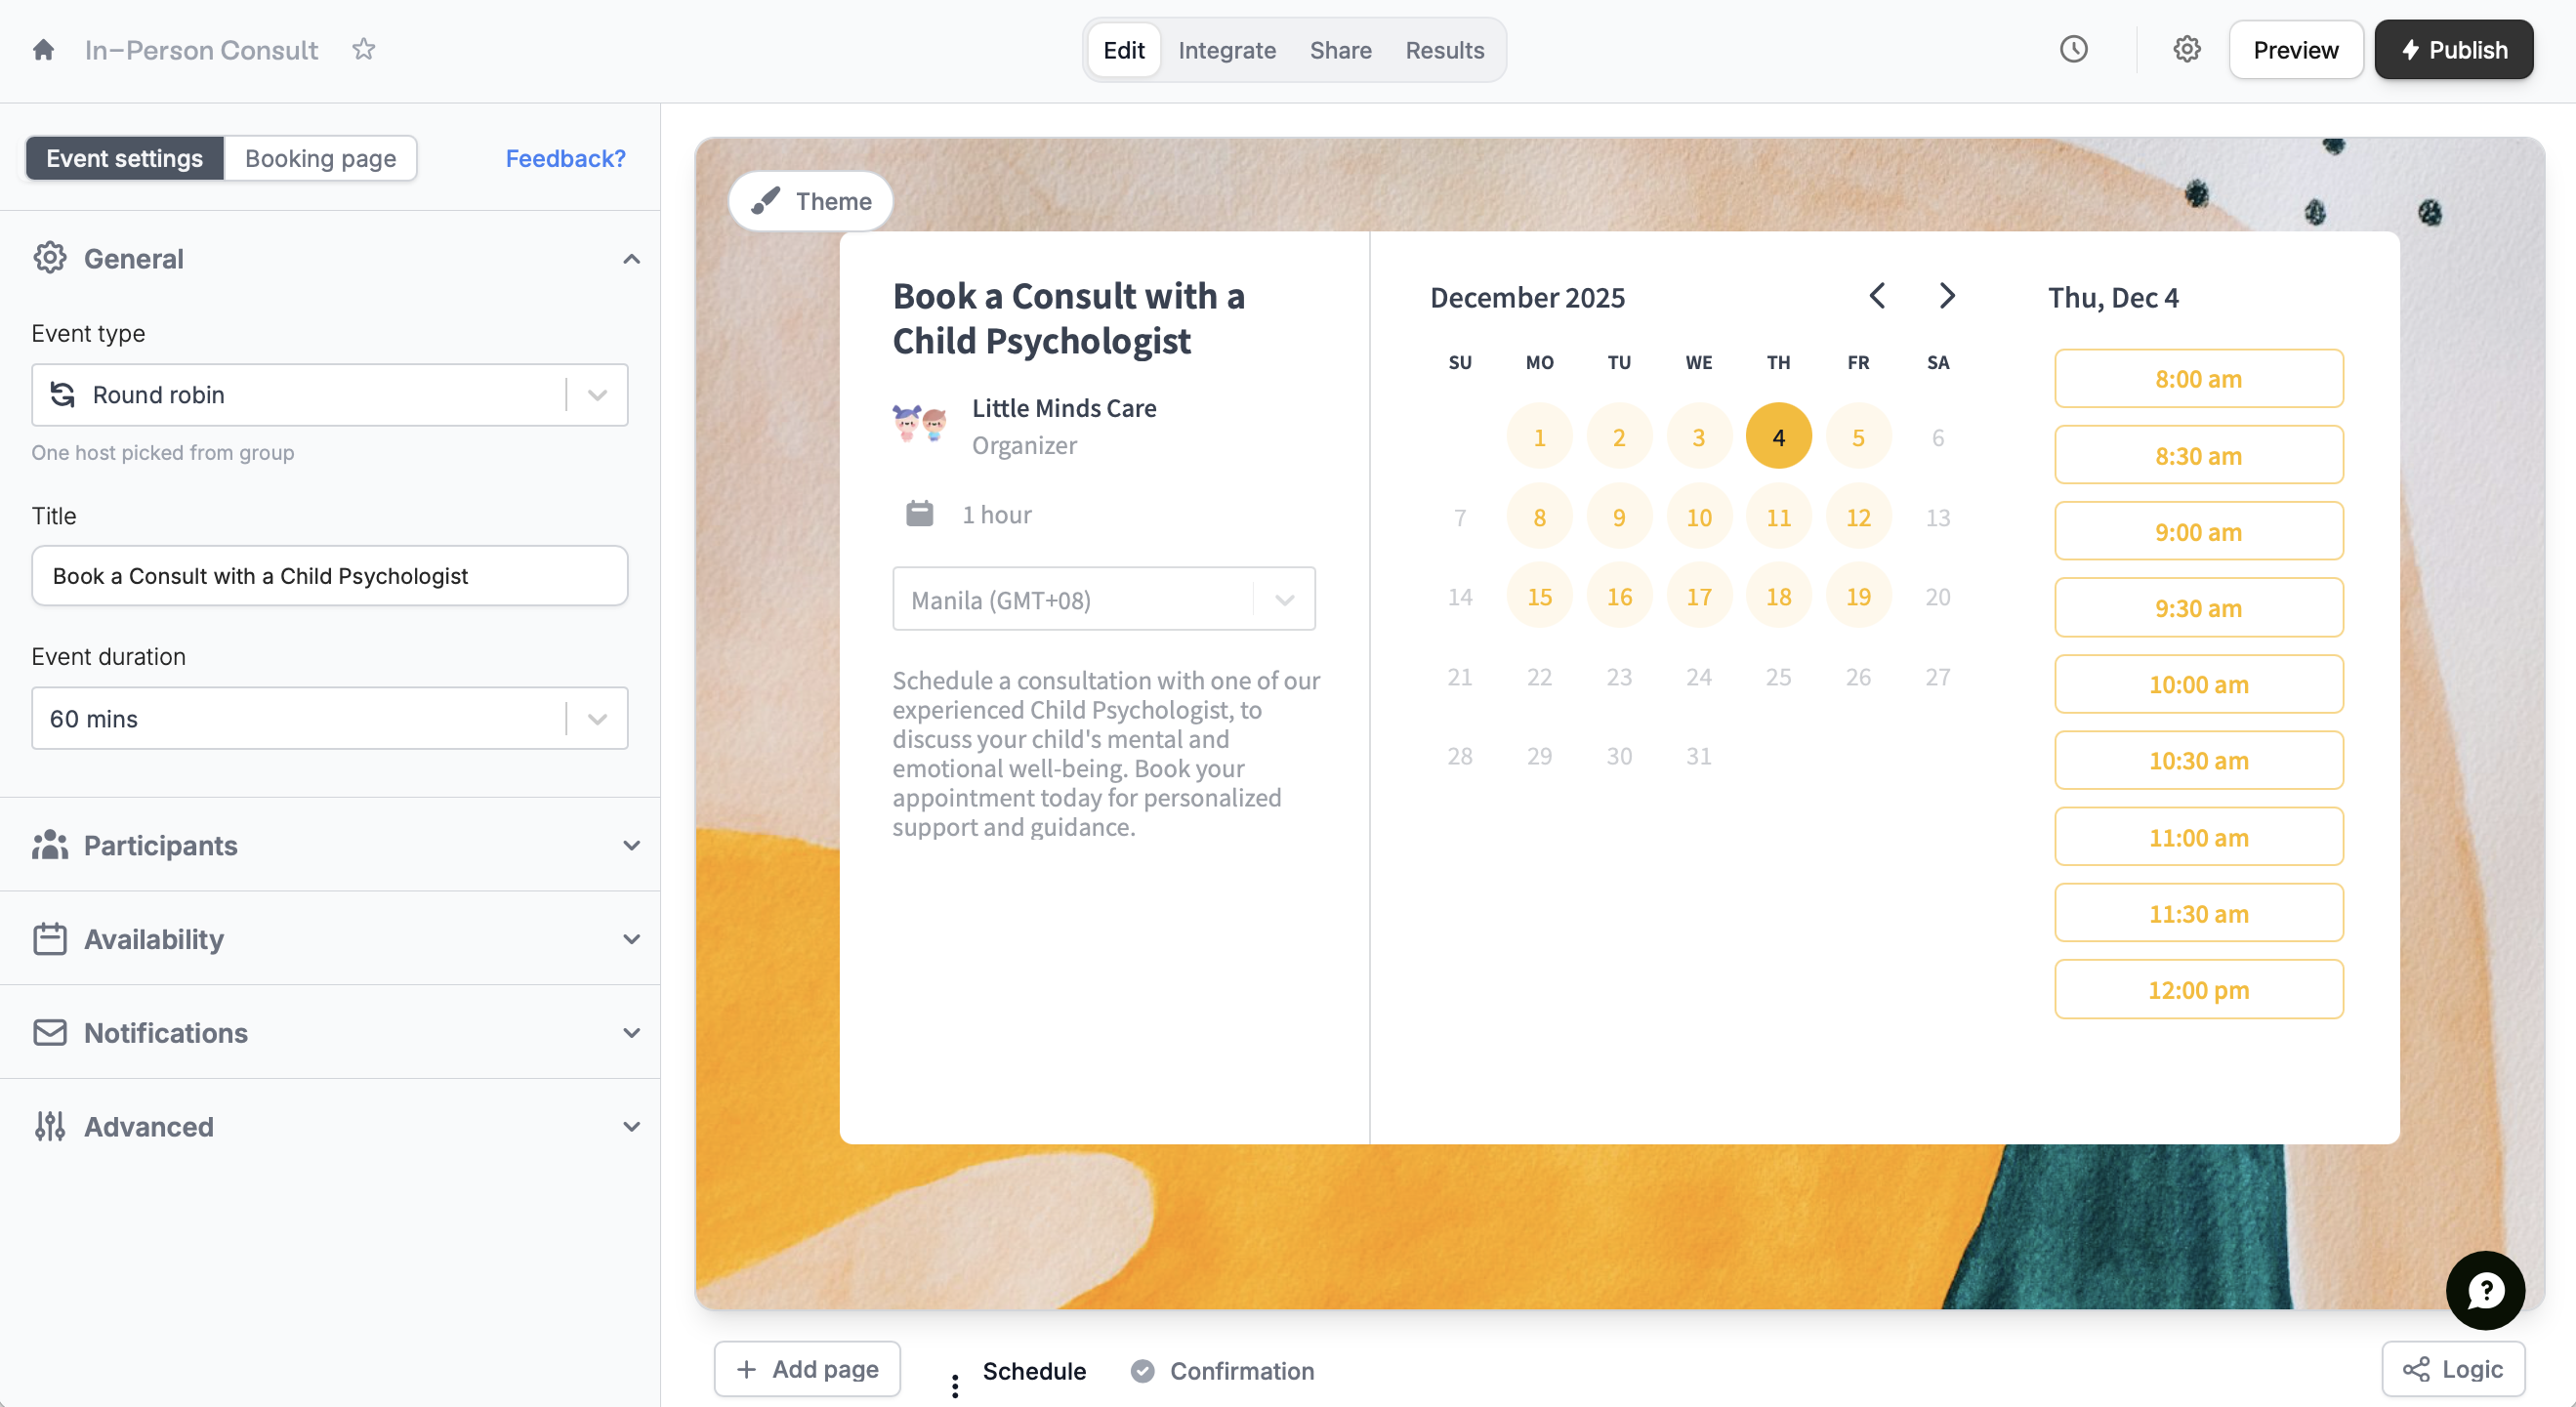
Booking page on top.3
Publish and share
Publish your form and share the link or embed it anywhere.
Manage Priority and Availability
Priority Settings On the left-hand panel, you can assign priority levels to participants to control the distribution of appointments. Higher priority members are more likely to receive bookings if multiple participants are available at the same time.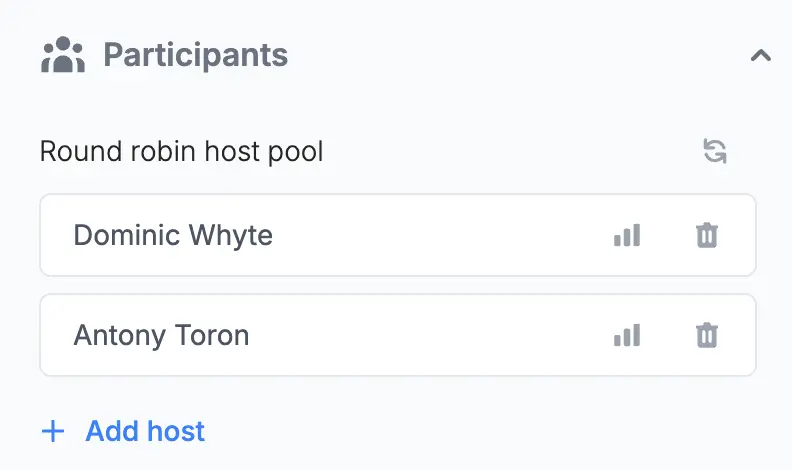
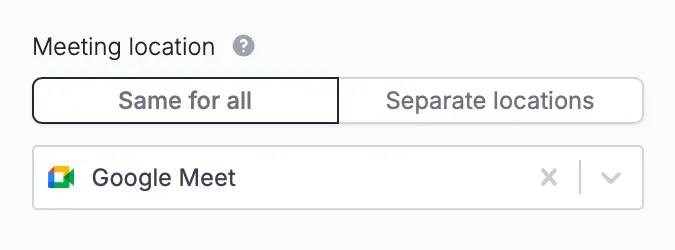
Who gets notified when someone books
When someone books, Fillout picks one host and adds the meeting to that host’s connected calendar. The invitee gets the meeting invite from that host’s Google or Outlook calendar. Fillout’s own booking email follows the form’s email notifications, the same as any other response. By default it goes to the form’s creator, not to the host who was picked. There’s no setting that sends it to whoever was assigned. To email the assigned host as well, add a workflow that sends an email when someone books:- Open your form’s Integrate tab, then Workflows, and click Blank workflow.
- Choose the Form submitted trigger, then the Send email action.
- Open the Send to dropdown and choose Selected host email. It’s listed under Schedule, and you can type “host” to find it.
- Write the email, then click Publish at the top of the workflow.
Related articles
Set your availability
Specify your available hours and buffer times through forms.
Style scheduling form
Tweak your form’s design, link, and avatar to match your brand.
Collective scheduling
Set meetings with one invitee and multiple hosts.