Overview
While Webflow has some built-in form features, they have limited multi-step functionality and only work with a limited number of third-party apps and platforms, making it hard to sync data to your CRM, database, or email marketing platform.Video tutorial
How to embed your form
Choose an embed style
Start by clicking 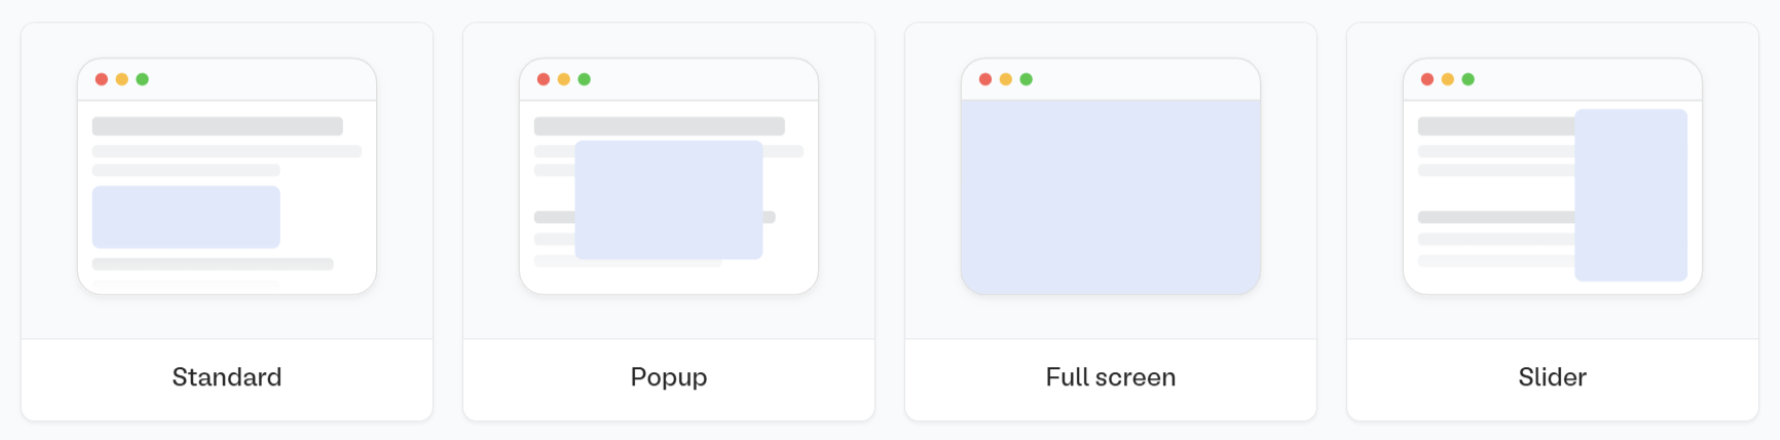
Publish in the upper right corner of the Fillout form editor. A popup will show up where you can pick an embed style.Share in the top middle or top right. Adjust your embed style settings to fit your use case. Then, Get the codeAdd elements
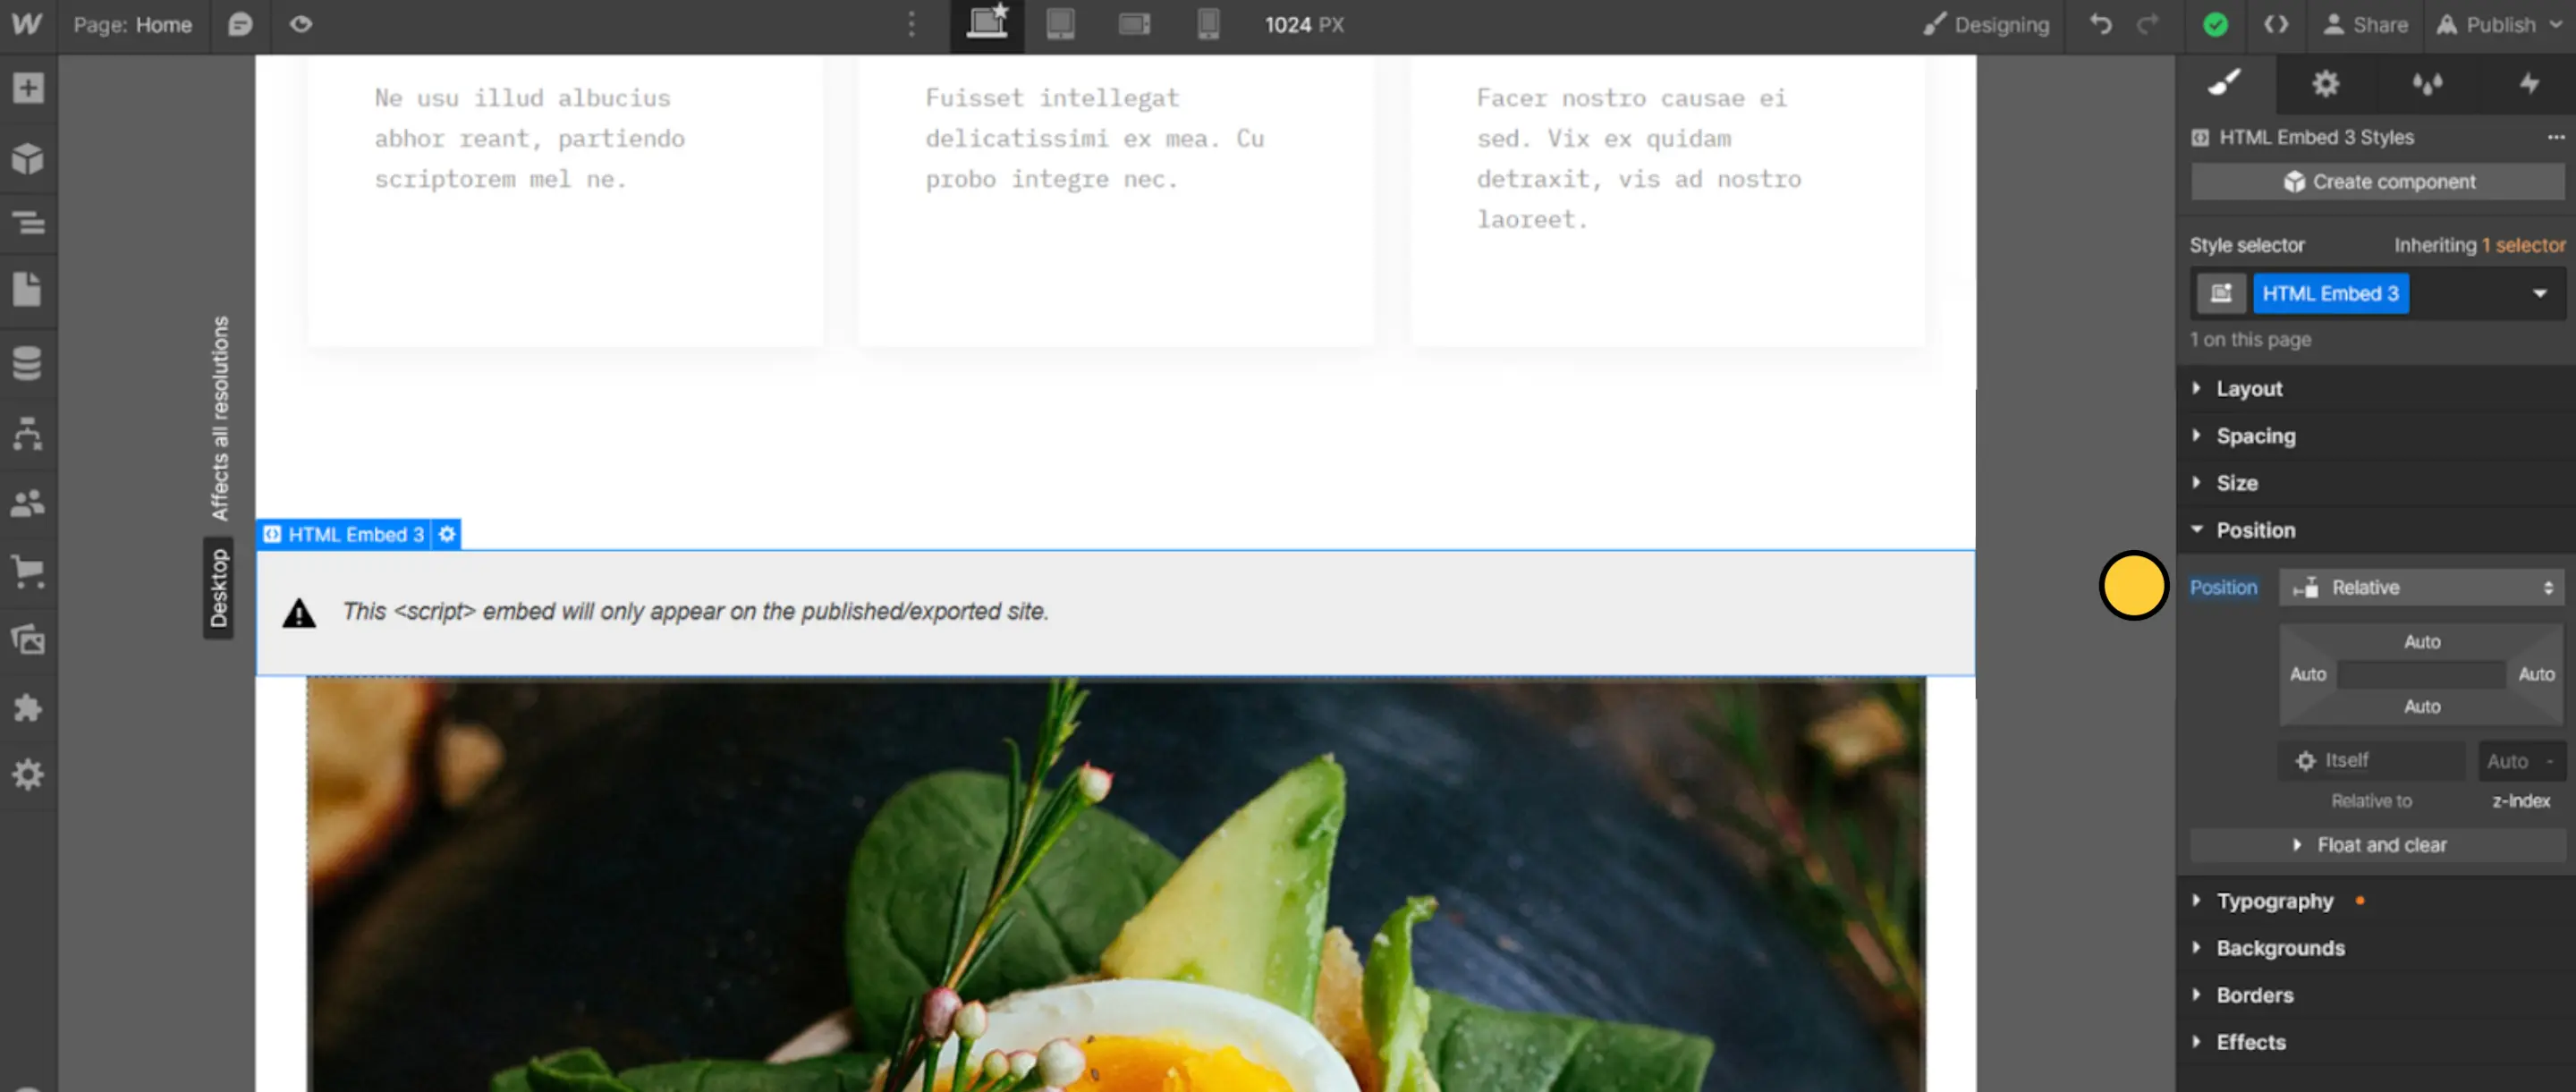
Open your Webflow visual editor, click 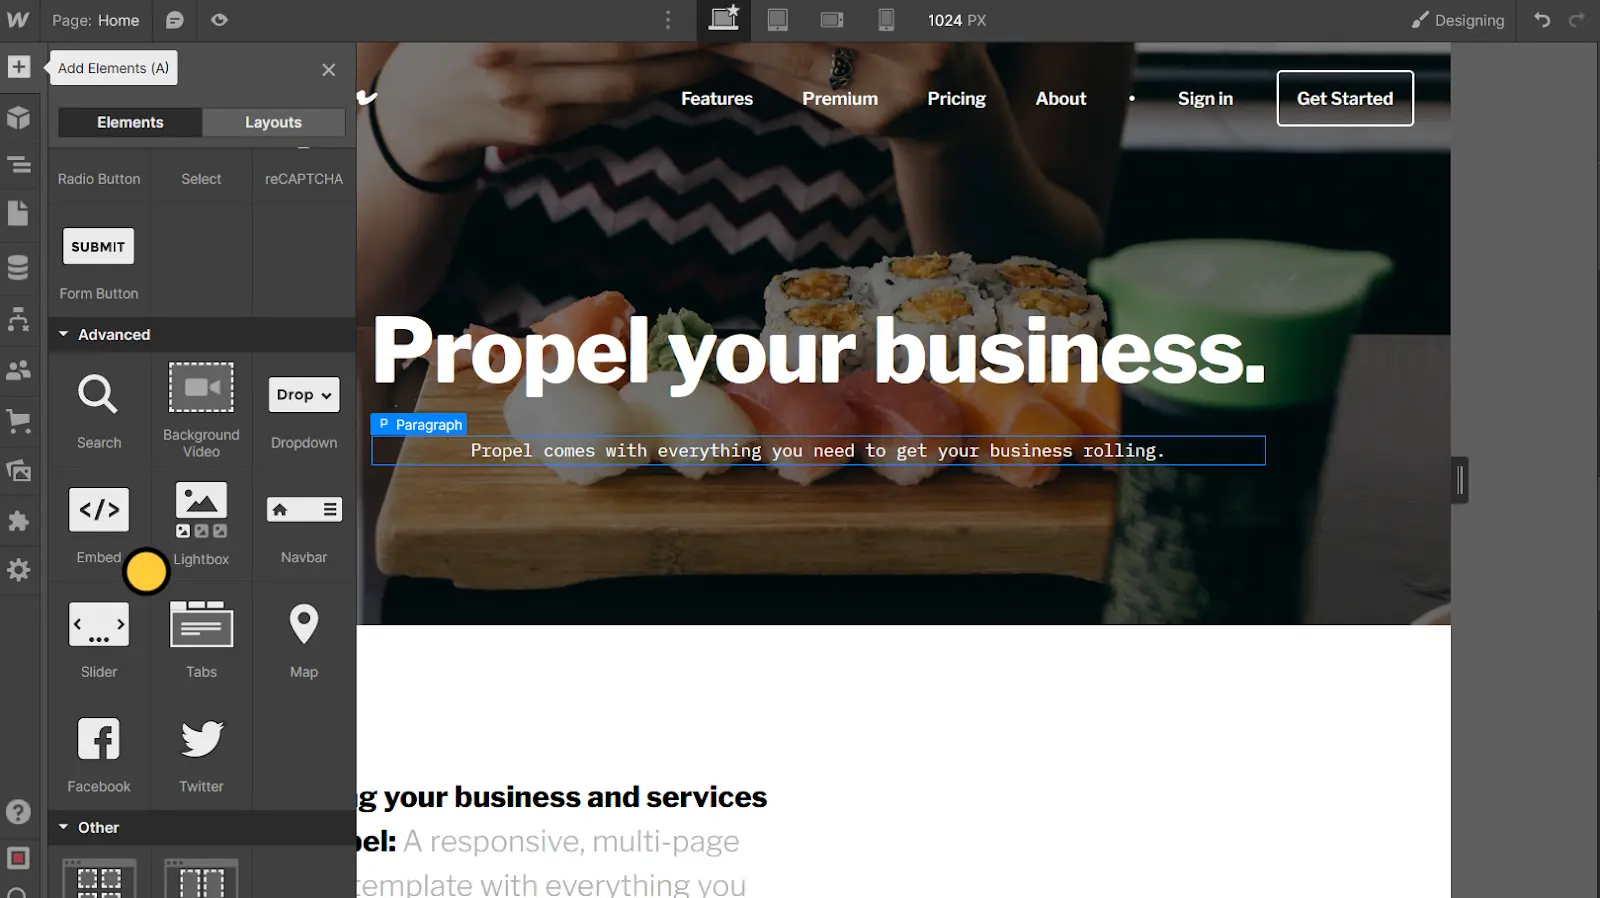
+ on the upper left corner (or press A) to open the Add Elements sidebar.Select the Elements tab, scroll to the Advanced section at the bottom of the list, and drag and drop the Embed to a spot on the page.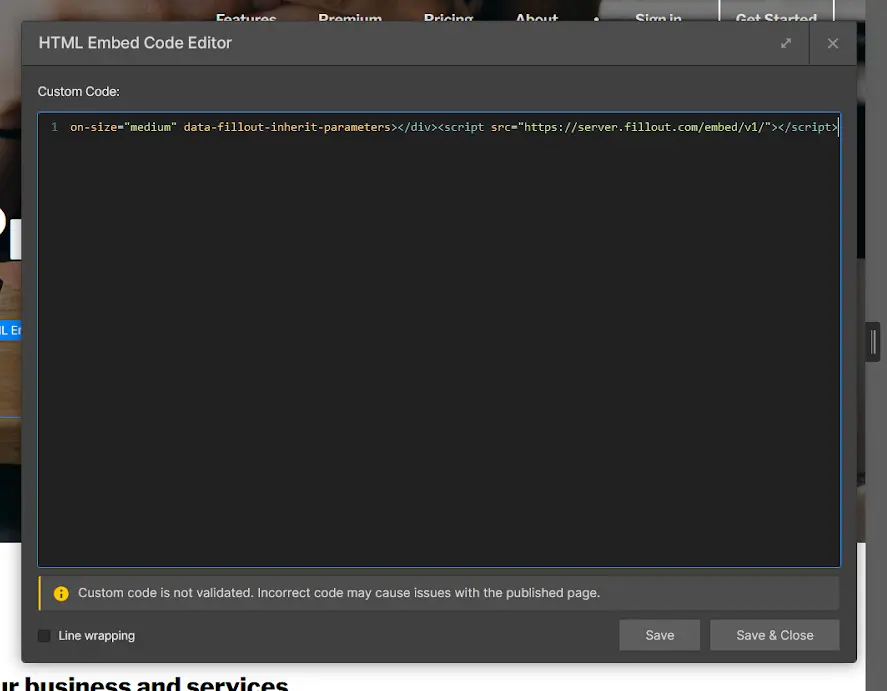
Troubleshooting common issues
Narrow embeds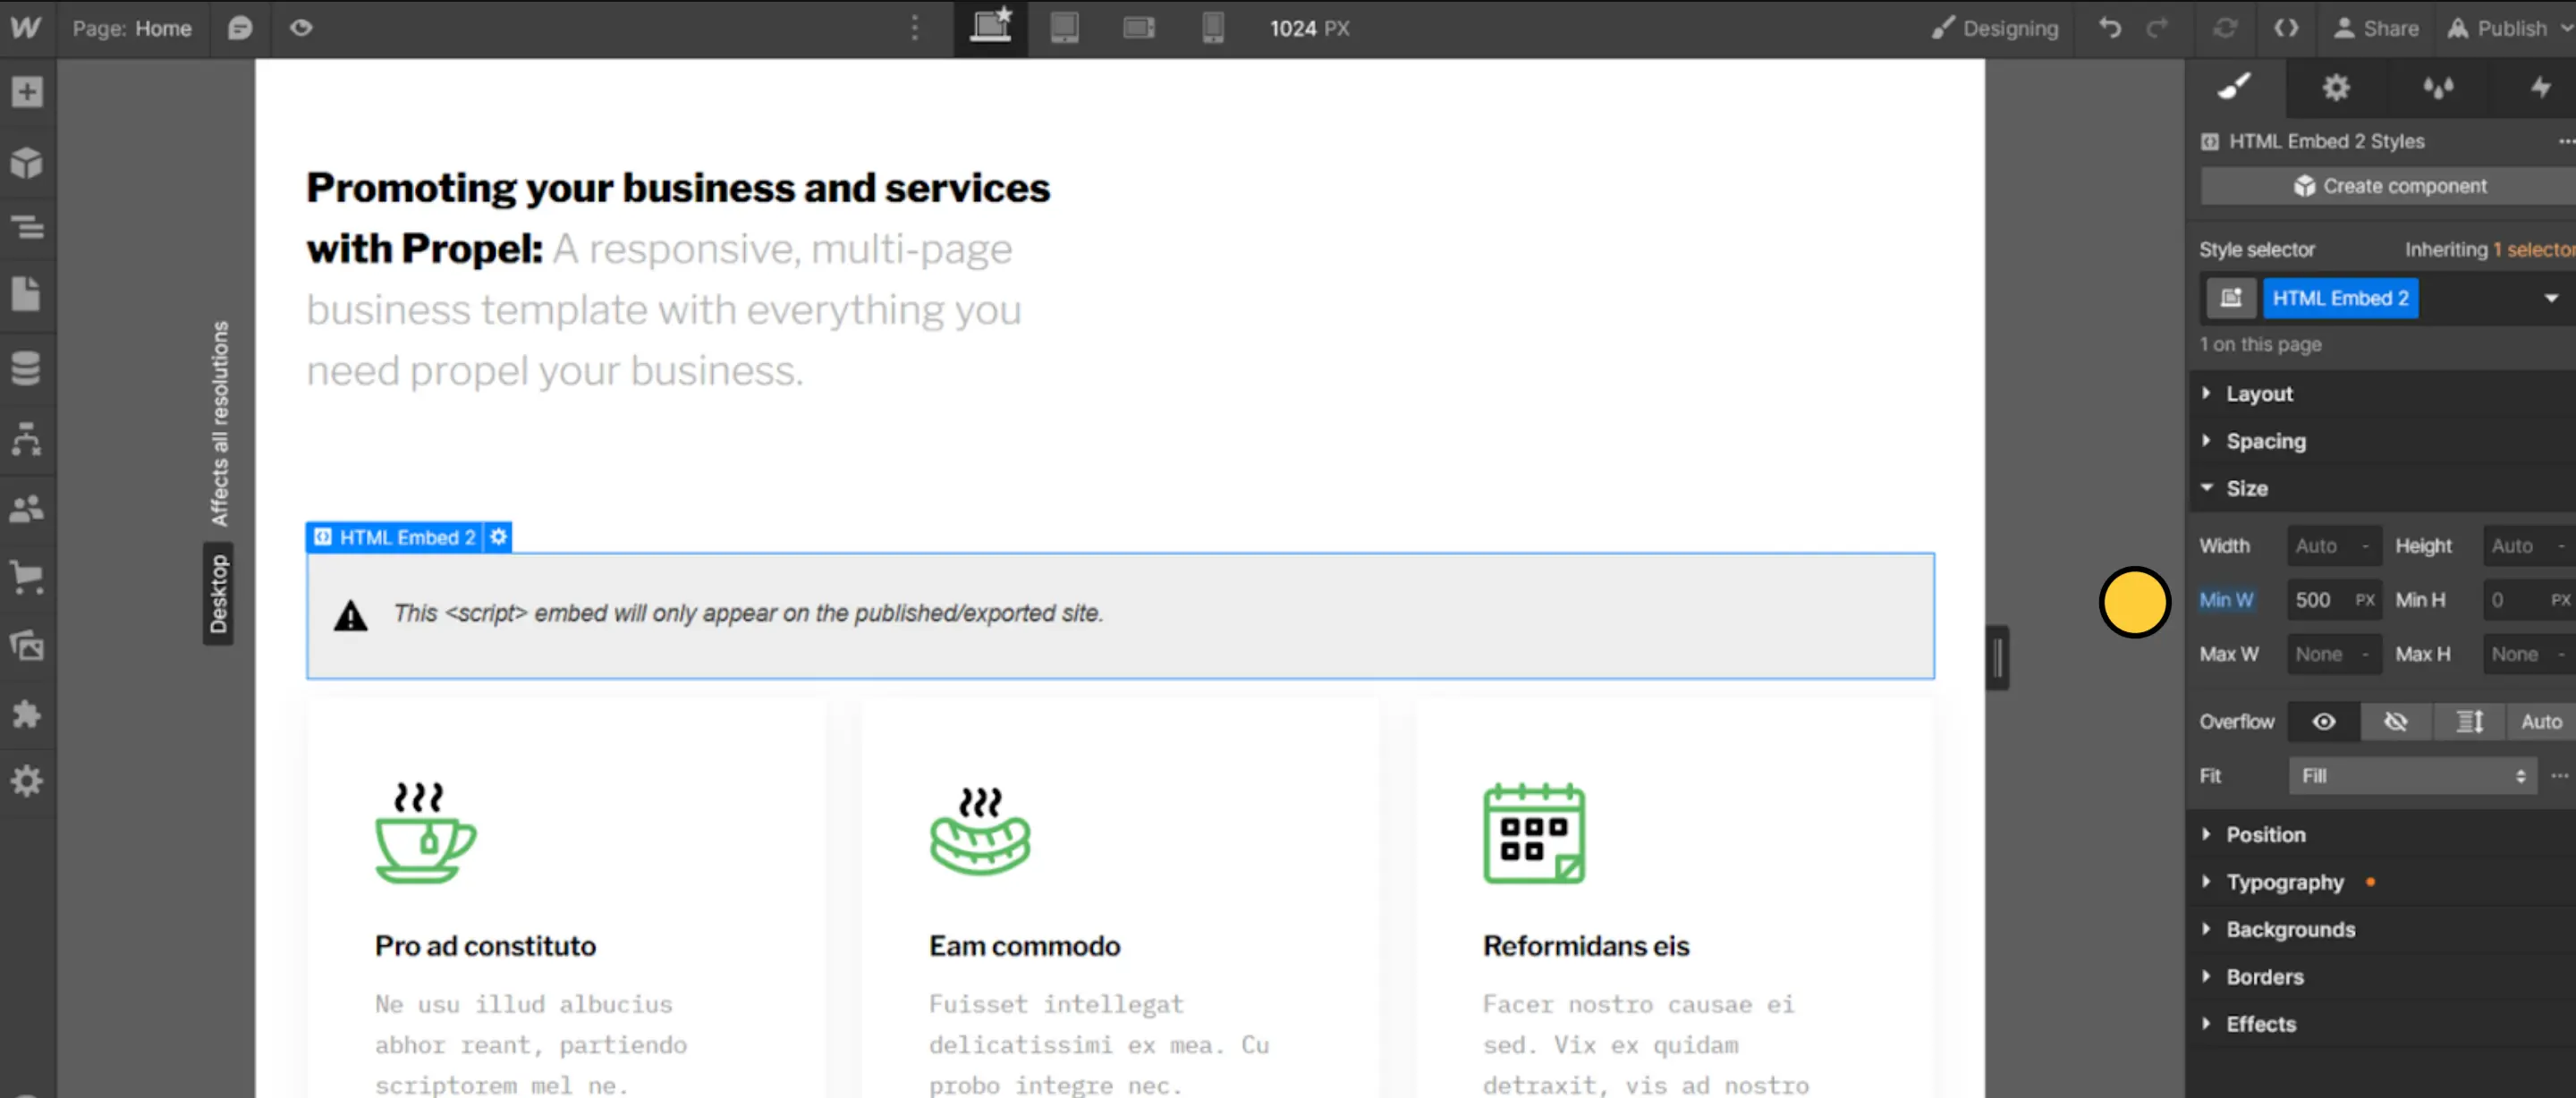
Embed in the visual editor, then open the Size menu from the right Style sidebar.
Increase the Min W value, publish the changes, and keep adjusting until you find a value you like (500px is a good starting point).
Embed element inside of a Div block (under Basic in the Add Elements sidebar) – almost anywhere on the page should work – and selecting Relative from the Position dropdown in the right Style sidebar.
Then, click on every Slide element on the page and select Static from the Position dropdown within the Style sidebar.
Related article
Share & embed
Share your form by link or embed it on your website.