> ## Documentation Index
> Fetch the complete documentation index at: https://fillout.com/help/llms.txt
> Use this file to discover all available pages before exploring further.
# Connect your form to Zoom
> Schedule new calls in Zoom with Fillout Scheduling. Automatically connect to availabilities on your calendar to book new meetings and calls.
## What is Zoom?
[Zoom](https://zoom.us/) provides remote conferencing services, offering video conferencing, online meetings, chat, and mobile collaboration.
## How it works
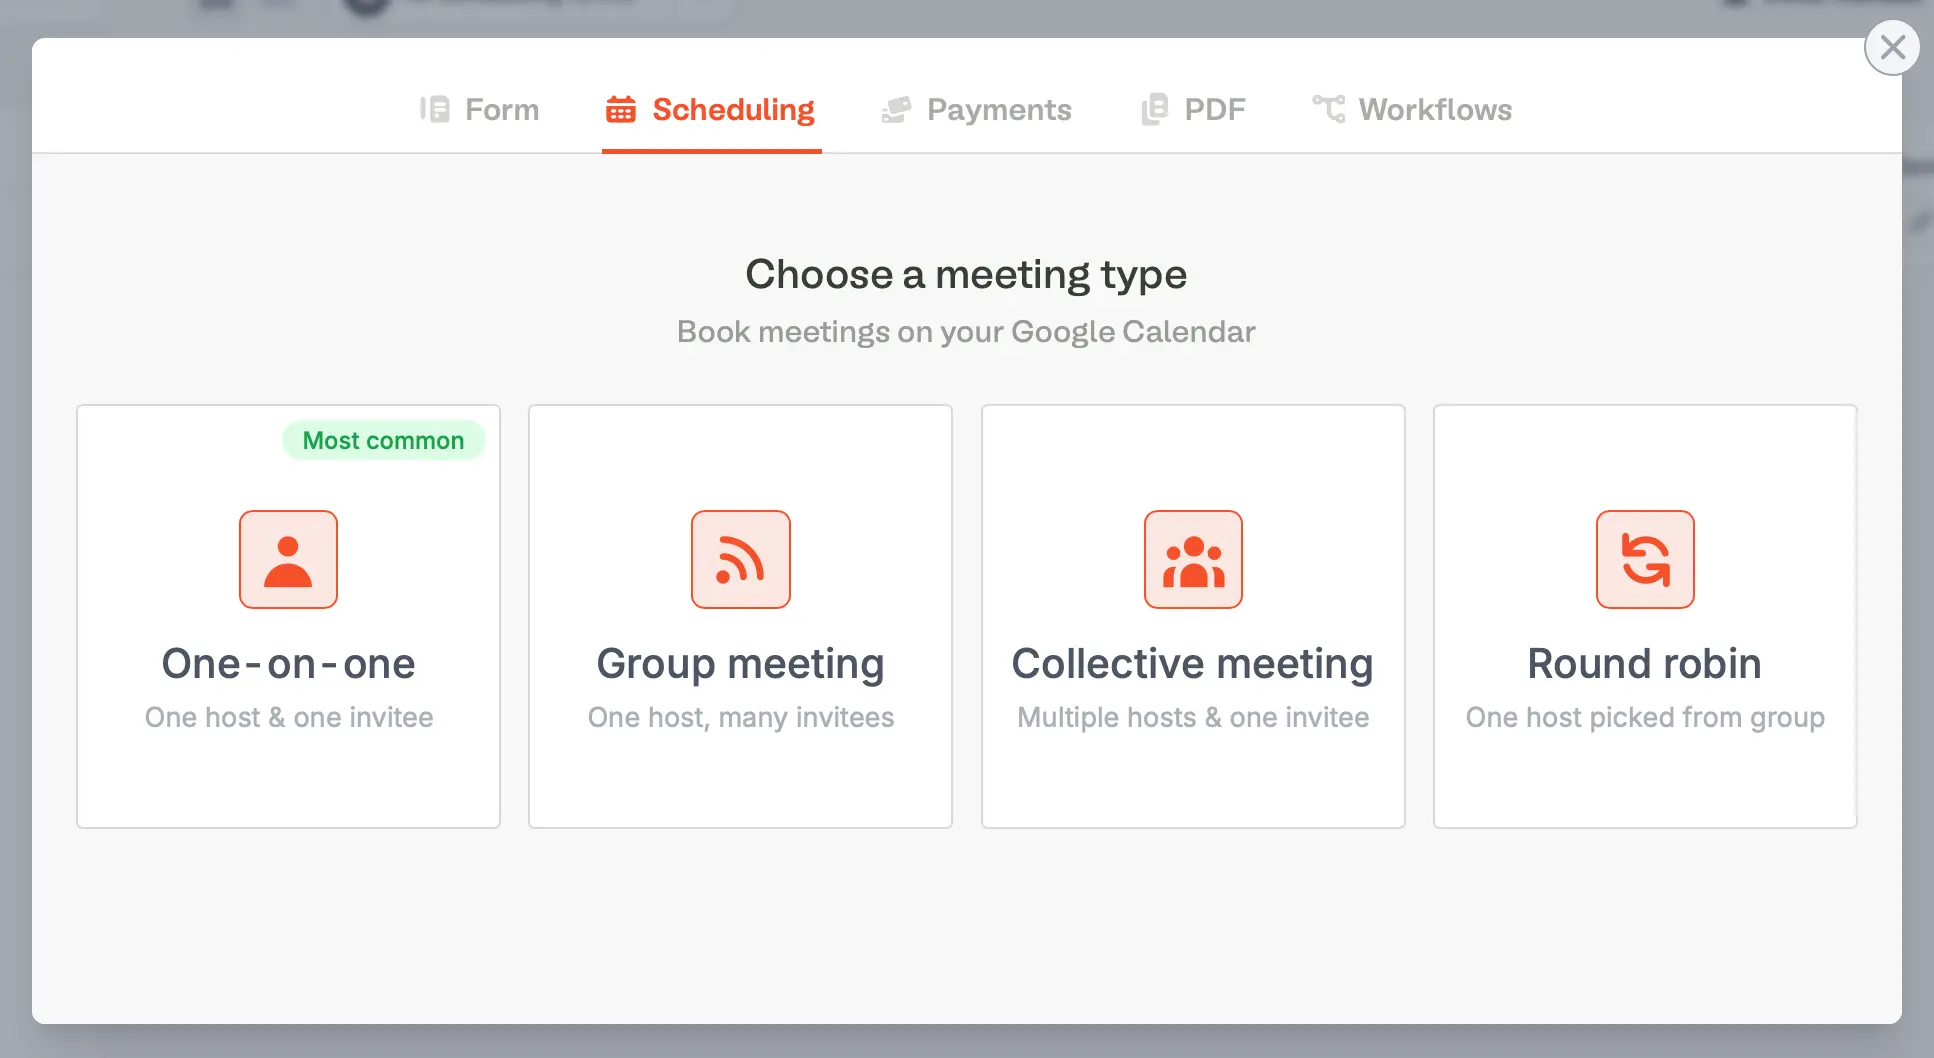
On your Fillout dashboard, click `+ Create` and choose [Scheduling](https://www.fillout.com/help/fillout-scheduling-intro) followed by your preferred **meeting type**.
 Name your meeting, pick a duration and click `Create`.
If you haven’t yet connected to Outlook or Google Calendar, you’ll be prompted to sign in with either first.
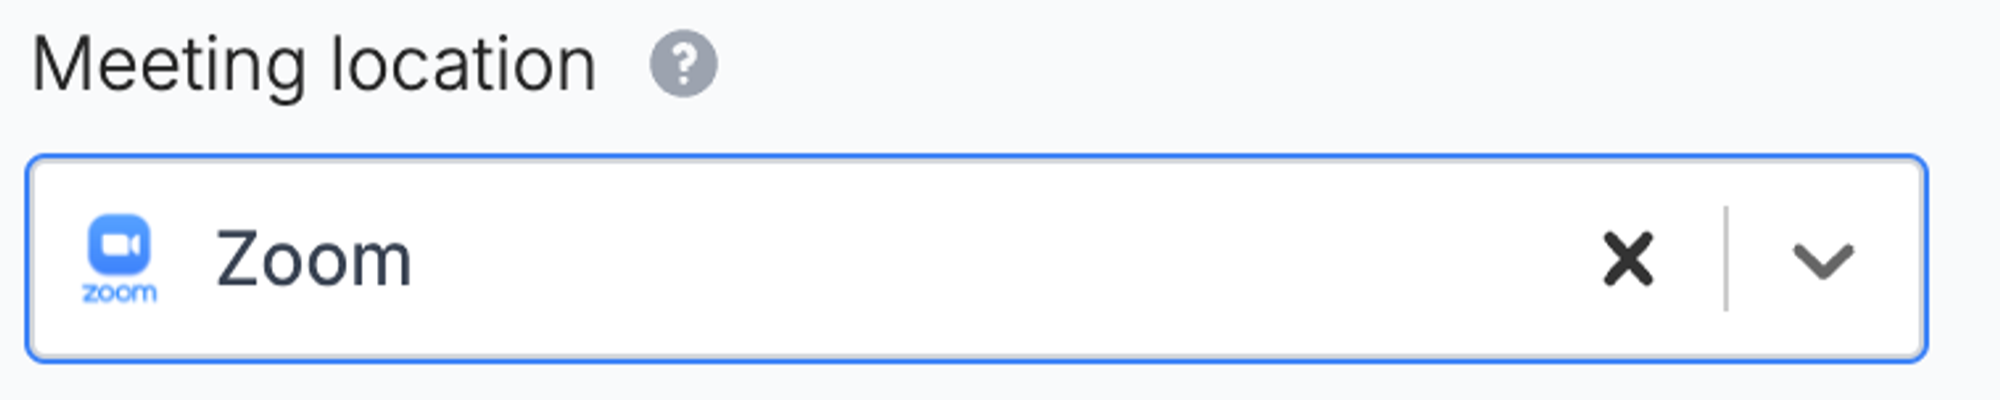
Once in the editor, on the left-hand panel, `+ Add meeting location` and select `Zoom`. Then, `Connect to Zoom`.
Name your meeting, pick a duration and click `Create`.
If you haven’t yet connected to Outlook or Google Calendar, you’ll be prompted to sign in with either first.
Once in the editor, on the left-hand panel, `+ Add meeting location` and select `Zoom`. Then, `Connect to Zoom`.
 You’ll be prompted to grant access to create meetings automatically in your Zoom account (and also the option to edit those meetings if your clients choose to reschedule or cancel).
Before finishing, you’ll have a default **Availability** schedule created in Fillout which you can [edit in the settings](https://www.fillout.com/help/fillout-scheduling-availability), along with [meeting buffer times](https://www.fillout.com/help/limit-bookings), and more, in the left-hand panel.
Click `Publish` in the top-right corner to get a shareable public link to your scheduling form, which is now automatically synced to your connected (Google or Outlook) calendar and Zoom account.
## Schedule calls based on conditions
You can choose to only schedule calls with certain users, by sending them to different pages of your form depending on their answers, even automatically based on data like [company size and industry](/page-logic).
## Disconnect Zoom from Scheduling Forms
If you’d like to stop scheduling Zoom calls, you can click **x** next to Zoom meeting location to remove it from your form. Remember to click `Publish` in the top-right corner again to make that change go live.
You’ll be prompted to grant access to create meetings automatically in your Zoom account (and also the option to edit those meetings if your clients choose to reschedule or cancel).
Before finishing, you’ll have a default **Availability** schedule created in Fillout which you can [edit in the settings](https://www.fillout.com/help/fillout-scheduling-availability), along with [meeting buffer times](https://www.fillout.com/help/limit-bookings), and more, in the left-hand panel.
Click `Publish` in the top-right corner to get a shareable public link to your scheduling form, which is now automatically synced to your connected (Google or Outlook) calendar and Zoom account.
## Schedule calls based on conditions
You can choose to only schedule calls with certain users, by sending them to different pages of your form depending on their answers, even automatically based on data like [company size and industry](/page-logic).
## Disconnect Zoom from Scheduling Forms
If you’d like to stop scheduling Zoom calls, you can click **x** next to Zoom meeting location to remove it from your form. Remember to click `Publish` in the top-right corner again to make that change go live.
 To disconnect the Fillout app from your Zoom account, see [this article](https://support.zoom.com/hc/en/article?id=zm_kb\&sysparm_article=KB0062865).
## Related articles
Make a scheduling form with Fillout Scheduling for free.
Specify your available hours and add multiple availabilities.
Hide or show pages or custom endings based on respondent input.
To disconnect the Fillout app from your Zoom account, see [this article](https://support.zoom.com/hc/en/article?id=zm_kb\&sysparm_article=KB0062865).
## Related articles
Make a scheduling form with Fillout Scheduling for free.
Specify your available hours and add multiple availabilities.
Hide or show pages or custom endings based on respondent input.